If you want something festive that looks impressive but is actually super easy to throw together, these 4th of July jello shots are it. I love them because they’re quick to prep, make your table instantly feel like a party, and people always go for them first.
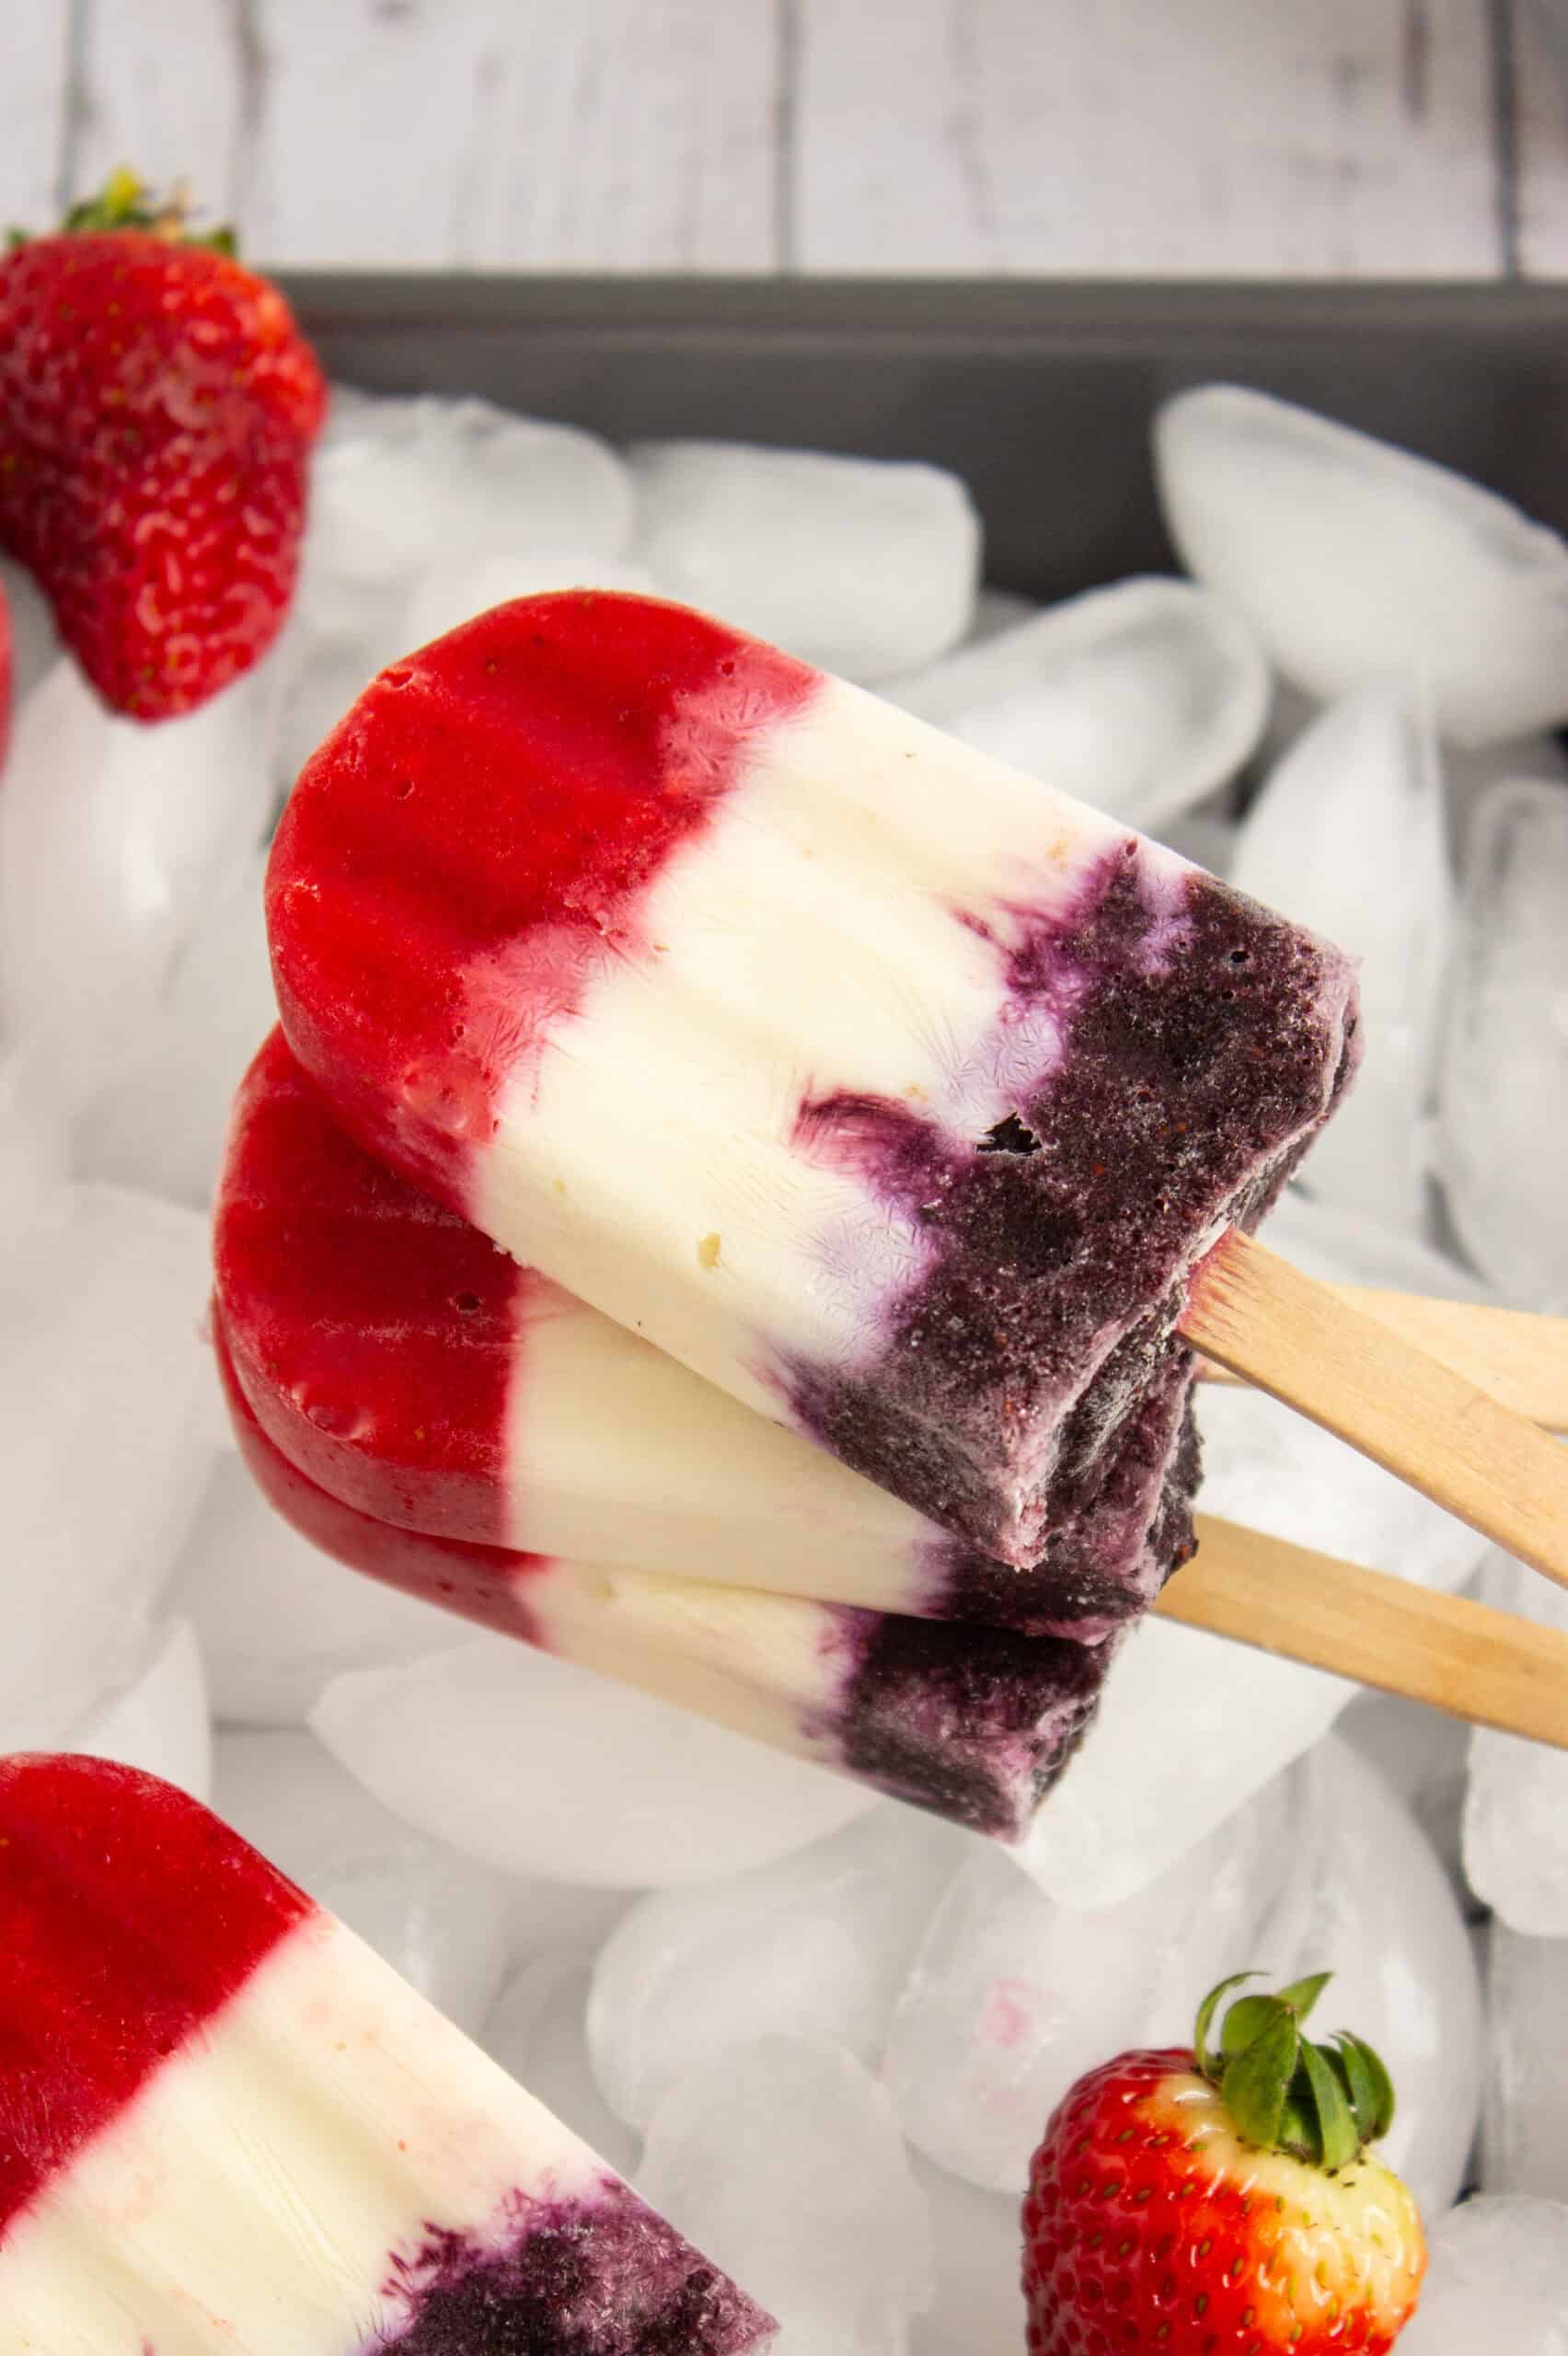
The red, white, and blue layers are fun and eye-catching, and honestly—who doesn’t love a jello shot? They’re sweet, colorful, and such a hit at any Fourth of July get-together. Best part? You can make them ahead of time and not stress about last-minute prep. Total win if you’re hosting and don’t want to spend all day in the kitchen.
Jump to RecipeTable of Contents

Why You’ll Love These 4th of July Jello Shots
These aren’t just any old party treat—these 4th of July jello shots are one of those things people actually remember. The red, white, and blue layers aren’t just pretty—they bring all the fun, flavor, and a little nostalgic throwback to summer parties when jello was the thing. And let’s be honest—everyone notices them on the table.
They Instantly Make Your Table Look Like a Party
These little guys light up the table like mini fireworks. They’re festive without trying too hard, and they somehow make even a last-minute get-together feel pulled together. You can stack them, tray them, or serve with some fruit—however you style them, they always look cute.
- Bold colors that scream “Fourth of July”
- No fancy decorating skills required
- Instant party vibes with minimal effort
Perfect for When You’re Busy but Still Want to Impress
I love that you can make these ahead of time and then actually enjoy your party instead of running around the kitchen. They don’t need plates or forks, and cleanup is basically non-existent.
- Make ahead and chill
- Zero mess on party day
- No one will know they only took you an afternoon
They Taste as Good as They Look
Each layer has its own flavor—usually fruity ones like cherry, strawberry, or blue raspberry—and the white layer gives it that creamy, sweet balance. I like topping mine with a cherry or some whipped cream to make them look a little extra.
- Each bite has a fun mix of flavor
- Sweet, fruity, creamy layers
- You’ll want more than one (trust me)

Great for Adults, Easy to Make Kid-Friendly
These are made with vodka when I’m making them for adults, but I’ve also done non-alcoholic versions with soda or juice for family events. Both versions are always a hit, and someone always asks for the recipe.
- Vodka for the grown-up crowd
- Easy swap for kid-safe ingredients
- Also perfect for Memorial Day, graduations, or any red-white-and-blue holiday
They’re So Cute, Everyone Takes a Picture
Even if you’re not usually the one showing off your party food, these jello shots kinda make you want to. The colors pop in photos, and you don’t need to be crafty to make them look good. People always post them.
- Super Instagrammable
- No decorating skills required
- Gets everyone talking (and asking where you got them)
Bottom line? These 4th of July jello shots are fun, festive, and secretly super easy. They’re always the first thing to disappear at my parties, and once you make them, you’ll totally get why.
Ingredients and Tools Needed for 4th of July Jello Shots
Before you start layering those bold red, white and blue jello shots, set up your space for easy assembly. Pulling together the right ingredients and a couple of simple tools makes the whole process fast and stress-free. The best part? It’s all basic stuff—no fancy bartending gear required. Let’s break down what you’ll need to whip up a batch of Fourth of July jello shots that look amazing and taste even better.
What You’ll Need to Make Red, White & Blue Jello Shots
These 4th of July jello shots are super simple to put together, and you only need a few basic ingredients to make them look amazing. I always like to make sure I’ve got everything prepped before I start—makes things way less stressful once the layers start going.

Here’s what I use:
- Red jello mix – Something like cherry, raspberry, or strawberry works great for that bold red layer.
- Blue jello mix – I usually grab berry blue for a bright, eye-catching base.
- Unflavored gelatin – This is key for the white layer. It keeps it nice and firm so it sits cleanly between the colors.
- Sweetened condensed milk – Gives the white layer a creamy, velvety texture that feels like a little dessert moment.
- Vodka – I like using whipped or vanilla vodka for a fun, sweet flavor. If I’m making a non-alcoholic batch, I just use water or lemon-lime soda instead.
- Water – You’ll need hot and cold water to mix up each layer.
- Maraschino cherries – Totally optional, but they make a cute topping or center surprise!
Helpful Tools to Have on Hand
You really don’t need anything fancy, but a few simple tools make the process way easier:
- Measuring cups with a spout – Makes it way easier to pour the layers cleanly into your cups.
- Whisk or spoon – You want to stir that jello until it’s completely dissolved—no clumps!
- Shot cups – I usually use the little 1-ounce plastic ones. You can go disposable or reusable, whatever works.
- A baking sheet or tray – Super helpful for moving your jello shots in and out of the fridge without spilling.
- Fridge space – Clear out a shelf ahead of time so your tray of jello shots can chill flat and set properly.
Optional but handy:
A small funnel or turkey baster helps get those layers nice and even, especially if you’re going for clean, crisp lines.
Once you’ve got your ingredients and supplies ready, you’re set. These layered jello shots are such a fun party treat and honestly way easier than they look. Just take your time, let each layer set, and get ready for everyone to rave about them!

Step-by-Step Instructions: How to Make 4th of July Jello Shots
Getting that picture-perfect stack of layered jello shots takes a little patience and some kitchen basics, but the payoff is totally worth it. Red, white and blue jello shots quickly turn your party spread into a fireworks show—in the best way! Here’s how to make fourth of July jello shots that look amazing and work for every guest on your invite list.
How to Achieve Clean, Distinct Layers
The secret to those sharp, Instagram-ready layers? Take it slow and let each layer set fully before pouring the next. If you’ve ever seen red white and blue jello shots with colors blending together, it’s usually because the next layer went on before the last was solid. Here’s how to set yourself up for success:
- Chill after every layer: After pouring each color, refrigerate until it’s completely set. This usually takes about an hour. If you rush, the colors might bleed into each other—nobody wants purple jello shooters!
- Pour gently: When adding a new layer, try using a spoon, turkey baster, or even a small funnel. This helps control where the liquid lands so the bottom layer doesn’t get disturbed.
- Cool mixtures before pouring: Hot jello can melt the layer underneath. Let your liquid cool to room temperature before pouring on top of a chilled layer. This will keep those lines crisp and patriotic.
- Work in batches: If you’re making a big batch of 4th of July jello shots, set up a system. Pour blue into all the cups, chill, then do the white, and so on. This keeps everything neat.
Think of it as making a flag—each stripe needs its space! These tricks help guarantee your red white and blue jello shooters turn out with clean lines that pop on any table.
Step 1: Prep Your Setup
- Clear a shelf in your fridge to make room for a baking sheet or tray.
- Line up 34–40 one-ounce plastic shot cups on a baking sheet for easy handling.
Step 2: Make the Blue Layer
- In a microwave-safe measuring cup, heat 1 cup of water until boiling (about 2 minutes).
- Stir in the blue jello powder until completely dissolved.

- Add ¾ cup vodka and ¼ cup cold water. Mix well.
- Let the mixture cool slightly so it’s warm, not hot.

- Pour the blue mixture into each shot cup, filling about one-third of the way.

- Place the tray in the fridge and chill for at least 1 hour, or until fully set.
Step 3: Make the White Layer
- Pour ½ cup cold water into a measuring cup and sprinkle the unflavored gelatin over it.
- Let it sit for about 5 minutes to bloom.
- Add 1 cup of boiling water and stir until the gelatin is fully dissolved.

- Stir in the sweetened condensed milk and ½ cup vodka. Mix until smooth.

- Let the mixture cool to room temperature.

- Once the blue layer is set and the white layer has cooled, pour the white mixture on top of the blue layer, filling the cups until they’re about two-thirds full.

- Chill in the fridge for another hour, or until set.
Step 4: Add the Cherry and Red Layer
- Once the white layer is firm, place a maraschino cherry into the center of each shot cup.

- Heat 1 cup of water until boiling and dissolve the red jello powder in it.
- Add ¾ cup vodka and ¼ cup cold water. Stir to combine.

- Let the red mixture cool to room temperature.

- Pour the red jello over the cherry and white layer, filling each cup to the top.

- Chill in the fridge for a final hour, or until completely set.
Step 5: Serve and Enjoy
- Keep the jello shots refrigerated until ready to serve.
- Serve cold and enjoy your festive red, white, and blue treats!
Mixing It Up
Alcoholic and Non-Alcoholic Versions
You can make these layered jello shots for everyone at your July 4th bash. It’s easy to switch up the alcohol for a kid-friendly or non-drinking version, and there are plenty of ways to put your own spin on the flavors.
To make them non-alcoholic:
- Replace vodka with cold water or lemon-lime soda: Use the same amount as the recipe calls for vodka. Lemon-lime soda (like Sprite or 7UP) adds a sweet, fizzy kick.
- Try sparkling grape juice or apple juice: These can bring their own fun flavors and still keep the colors bright.
- Skip sweetened condensed milk for the white layer? Swap with coconut milk for a dairy-free, creamy white, but check the sweetness—add some sugar if you like.
Fun flavor variations:
- Swap vodka for flavored versions: Whipped cream or vanilla vodka adds dessert vibes. Strawberry or berry vodka ramps up the fruitiness for adults.
- Use other jello flavors: Watermelon for a different red, or lime for a fresh green layer after July 4th.
- Change the topper: Instead of cherries, add layered candies, fruit wedges, or even a mini whipped cream swirl before serving.
With these swaps, your red white and blue jello shots can work for all ages and occasions—from fourth of July barbecues to birthday parties. Just pick the version that fits your guest list, follow the simple technique, and enjoy the stripes!
The Best Way to Store 4th of July Jello Shots
Keep your jello shots looking and tasting their best with the right storage steps. Since these treats are party-ready ahead of time, storing them properly helps you stay stress-free and makes it easy to throw them out when it’s time to celebrate.
- Cover each cup: Use lids if you have them, or wrap trays tightly with plastic wrap. This keeps them from drying out and shields the top layer from spills or other foods in the fridge.
- Chill until serving time: Red white and blue jello shots need to stay cold. Refrigerate for up to one week, but aim to serve them within 2-3 days for the freshest taste and color.
- Don’t freeze: Freezing gives jello a weird, mushy texture once thawed. Always keep your shots in the fridge.
Quick tip: If you’re stacking shot containers, put a layer of wax paper or paper towels between layers to keep them from sticking.

Frequently Asked Questions: 4th of July Jello Shots
Red, white and blue jello shots always spark a lot of curiosity at July 4th cookouts. People want to know how long they last, if you can tweak the recipe, or even if you can make them ahead. Here’s a complete FAQ that covers the most common questions about layered jello shots so your party goes off without a hitch.
How far in advance can I make 4th of July jello shots?
You can prep these red white and blue jello shooters up to a full week before the party. Just make sure you store them covered in the fridge. They’ll hold their shape, color, and flavor best if you serve them within 2-3 days, but they’re good for up to seven days.
Can I freeze layered jello shots?
Don’t freeze 4th of July jello shots. Freezing messes with the texture, making them grainy or watery when they thaw out. For the best bite, keep them chilled in the fridge.
Can I use different alcohol for 4th of July jello shots?
Vodka is the most popular choice because it blends with almost any flavor. But you can also use:
- Rum (white or coconut)
- Tequila (for a bolder kick)
- Flavored vodka (whipped cream, berry, vanilla, etc.)
Just keep the total amount the same as the main recipe for even setting and flavor.
Are these jello shots gluten-free?
Most plain gelatin mixes and vodka are gluten-free, but always check your labels if this is important for your guests. Flavored alcohols or specialty jello mixes sometimes sneak in additives, so it never hurts to double-check.
How much alcohol should I use for strong jello shots?
If you want your red white and blue jello shots a little stronger, you can use up to one cup of vodka per box of jello. More than that, though, and the jello might not set well. Stick to the recipe for a good balance: enough kick to taste it, but not so much that your shots turn into a soupy mess.

What’s the best way to get the jello shots out of the cups?
Pry the edge with a toothpick before popping the jello shot into your mouth. Or, squeeze the cup gently. For super-smooth sides, dip the bottom of the cup in warm water for 2-3 seconds—just don’t overdo it, or the colors might run.
How do I make kid-friendly red, white and blue jello shots?
For a family party, it’s simple:
- Swap all alcohol for equal parts water, lemon-lime soda, or juice.
- Use clear fruit juice for the white layer, or swap in coconut milk for a creamy middle.
- Top with extra fruit or candies instead of cherries for extra fun.
Always color code or label non-alcoholic and spiked jello shots so everyone knows what’s safe for kids.
Can I use sugar-free jello for these shots?
You can use sugar-free jello with no problem. The texture holds up, and the look is just as vibrant. If you swap to sugar-free, check the sweetened condensed milk for the middle layer as it may add sweetness on its own.
How many shots does this recipe make?
This standard recipe makes about 34-40, 1-ounce layered jello shots. Use small plastic shot cups for best results. If you use larger cups, you’ll get fewer shots per batch.
Can I double or halve the recipe?
You can easily double or halve this recipe. Just keep the layer ratios the same and follow the same chill and assembly process for perfect stripes every time.
With these answers, you’ll feel like a party pro when guests fire off their most pressing 4th of July jello shot questions. Now go make those red, white and blue jello shooters the highlight of your next Fourth of July!

My Best Tips for Foolproof Red, White & Blue Jello Shots
Making layered jello shots isn’t hard, but there are a few tricks I’ve picked up that make a huge difference. These are the little things that take your shots from “cute” to actually impressive. If you want them to set perfectly, look sharp, and taste amazing—this is the stuff to know.
Let Each Layer Fully Set Before Adding the Next
The biggest mistake? Rushing. If you don’t give each layer time to fully set, the colors will bleed together and you’ll lose that clean striped look.
- I always give each layer at least an hour in the fridge before adding the next.
- Gently tap the cup—if it’s still jiggly or soft, wait a little longer.
- Don’t try to speed it up in the freezer. It’ll mess with the texture and make your jello cloudy.
Pour Gently for Crisp Layers
How you pour matters. For those sharp, clean lines, don’t just dump it in the center.
- I like to pour slowly down the side of the cup, or use a spoon or baster to control the flow.
- A funnel works great too, especially if you’re going for picture-perfect layers.
- The goal is to avoid breaking through the layer underneath.
Let Your Mixture Cool Before Pouring
This is a big one—don’t pour hot jello onto a cold layer. It’ll melt it and make everything blend together.
- I let each layer cool to room temp before pouring.
- If I’m in a hurry, I’ll set the cup in a bowl of cold water to speed things up.
- If it still feels warm to the touch, give it more time.
Keep Things Clean and Organized
Layered jello shots are way easier (and less messy) when your setup is dialed in from the start.
- I line up all my shot cups on a baking sheet so I can move them in and out of the fridge easily.
- A spouted measuring cup or squeeze bottle makes pouring cleaner.
- I always keep paper towels nearby for quick cleanups if anything drips or spills.

Don’t Go Overboard with the Booze
I know it’s tempting to pour in extra vodka, but too much alcohol and the jello won’t set right.
- Stick to the amounts in the recipe for that perfect balance of fun and firm.
- If you want a stronger flavor, try using a flavored vodka instead of upping the amount.
- I love whipped or vanilla vodka—it makes the whole thing taste like dessert.
Make Them Ahead to Keep It Stress-Free
These are not something you want to throw together an hour before the party. Give yourself plenty of time and make them ahead.
- I usually prep mine the night before and let them chill overnight.
- Add cherries or any garnishes right before serving so they stay fresh and cute.
Keep the Layers Looking Bright and Tidy
Clean layers really make these jello shots pop.
- Wipe off any drips on the cups before pouring the next color.
- Cover your tray with plastic wrap in the fridge to keep out odors.
- A cherry on top is always cute, or let guests add their own for a little DIY flair.
With a little patience and these simple tips, your red, white, and blue jello shots will look amazing and set perfectly every time. Even if it’s your first time making layered shots, I promise—people are going to be seriously impressed.

Red, White and Blue Jello Shots
Ingredients
- 1 small box red Jello strawberry, raspberry, cherry, etc
- 1 small box berry blue Jello
- 2 T unflavored gelatin
- 1 – 14 oz can sweetened condensed milk
- 2 c vodka whipped, vanilla or unflavored, divided
- 4 c water divided
- Maraschino cherries with or without stems
Instructions
- Clear out a space in the fridge to accommodate a baking sheet or dish to hold all your jello shot containers.
- Line out 34-40 – 1 ounce containers.
- For the blue layer – In a 2 cup size measuring cup with a spout (or similar) heat 1 cup of water in the microwave for 2 minutes. It should be boiling.
- Add in the blue jello and stir until dissolved.
- Add in ¾ vodka and ¼ cold water. Stir until mixed well. Allow to cool slightly.
- Pour the blue jello mixture into each shot glass, filling about ⅓ of the way.
- Chill in the fridge for at least an hour to set.
- For the white layer – In the 2 cup measuring cup, add ½ cup cold water and the 2 T of unflavored gelatin. Allow to bloom for about 5 minutes.
- Add in 1 cup of boiling water and mix until dissolved.
- Add in the can of sweetened condensed milk and ½ c vodka. Mix well.
- Allow to cool to about room temperature and then pour over the red layer in each shot glass, filling until about ⅔ full.
- Chill in the fridge for another hour to set.
- For the red layer – once the white layer has set, place a cherry in each shot glass.
- In a 2 cup size measuring cup, heat 1 cup of water in the microwave for 2 minutes. It should be boiling.
- Add in the red jello and stir until dissolved.
- Add in ¾ vodka and ¼ cold water. Stir until mixed well. Allow to cool to room temperature.
- Pour the red jello mixture over the cherry, filling each shot glass to the top.
- Chill in the fridge for another hour to set.
Final Thoughts
If you’re looking for a fun, festive treat that’s easy to make and guaranteed to impress—these red, white, and blue jello shots are it. They’re colorful, crowd-pleasing, and come together with just a few simple ingredients. Whether you’re hosting a big 4th of July bash or just want to bring something fun to a backyard BBQ, these little layered shots always steal the show.
They’re easy to prep ahead, totally customizable (boozy or not!), and honestly just make your party table look like a celebration. Once you make them, you’ll totally get why they’re always the first to disappear.
If you try them, let me know how they turn out—or tag me in your party pics so I can see your creations!
Happy 4th, and cheers to jello that looks as good as it tastes!
Sarah Lee is an ER doctor and the creator of Laid Back Bites, where she shares simple, stress-free recipes for busy lives. Living on a farmette in Oklahoma with her husband, 4 horses and 4 cats, she combines her experience in a high-pressure career with a passion for easy, comforting meals. Her unique perspective brings a sense of balance and practicality to the kitchen, helping readers create delicious dishes without the stress.
Looking for more 4th of July themed recipes? Try my:
- Red, White, and Blue Fruit Skewers
- 4th of July Popsicles
- Dr Pepper Ice Cream
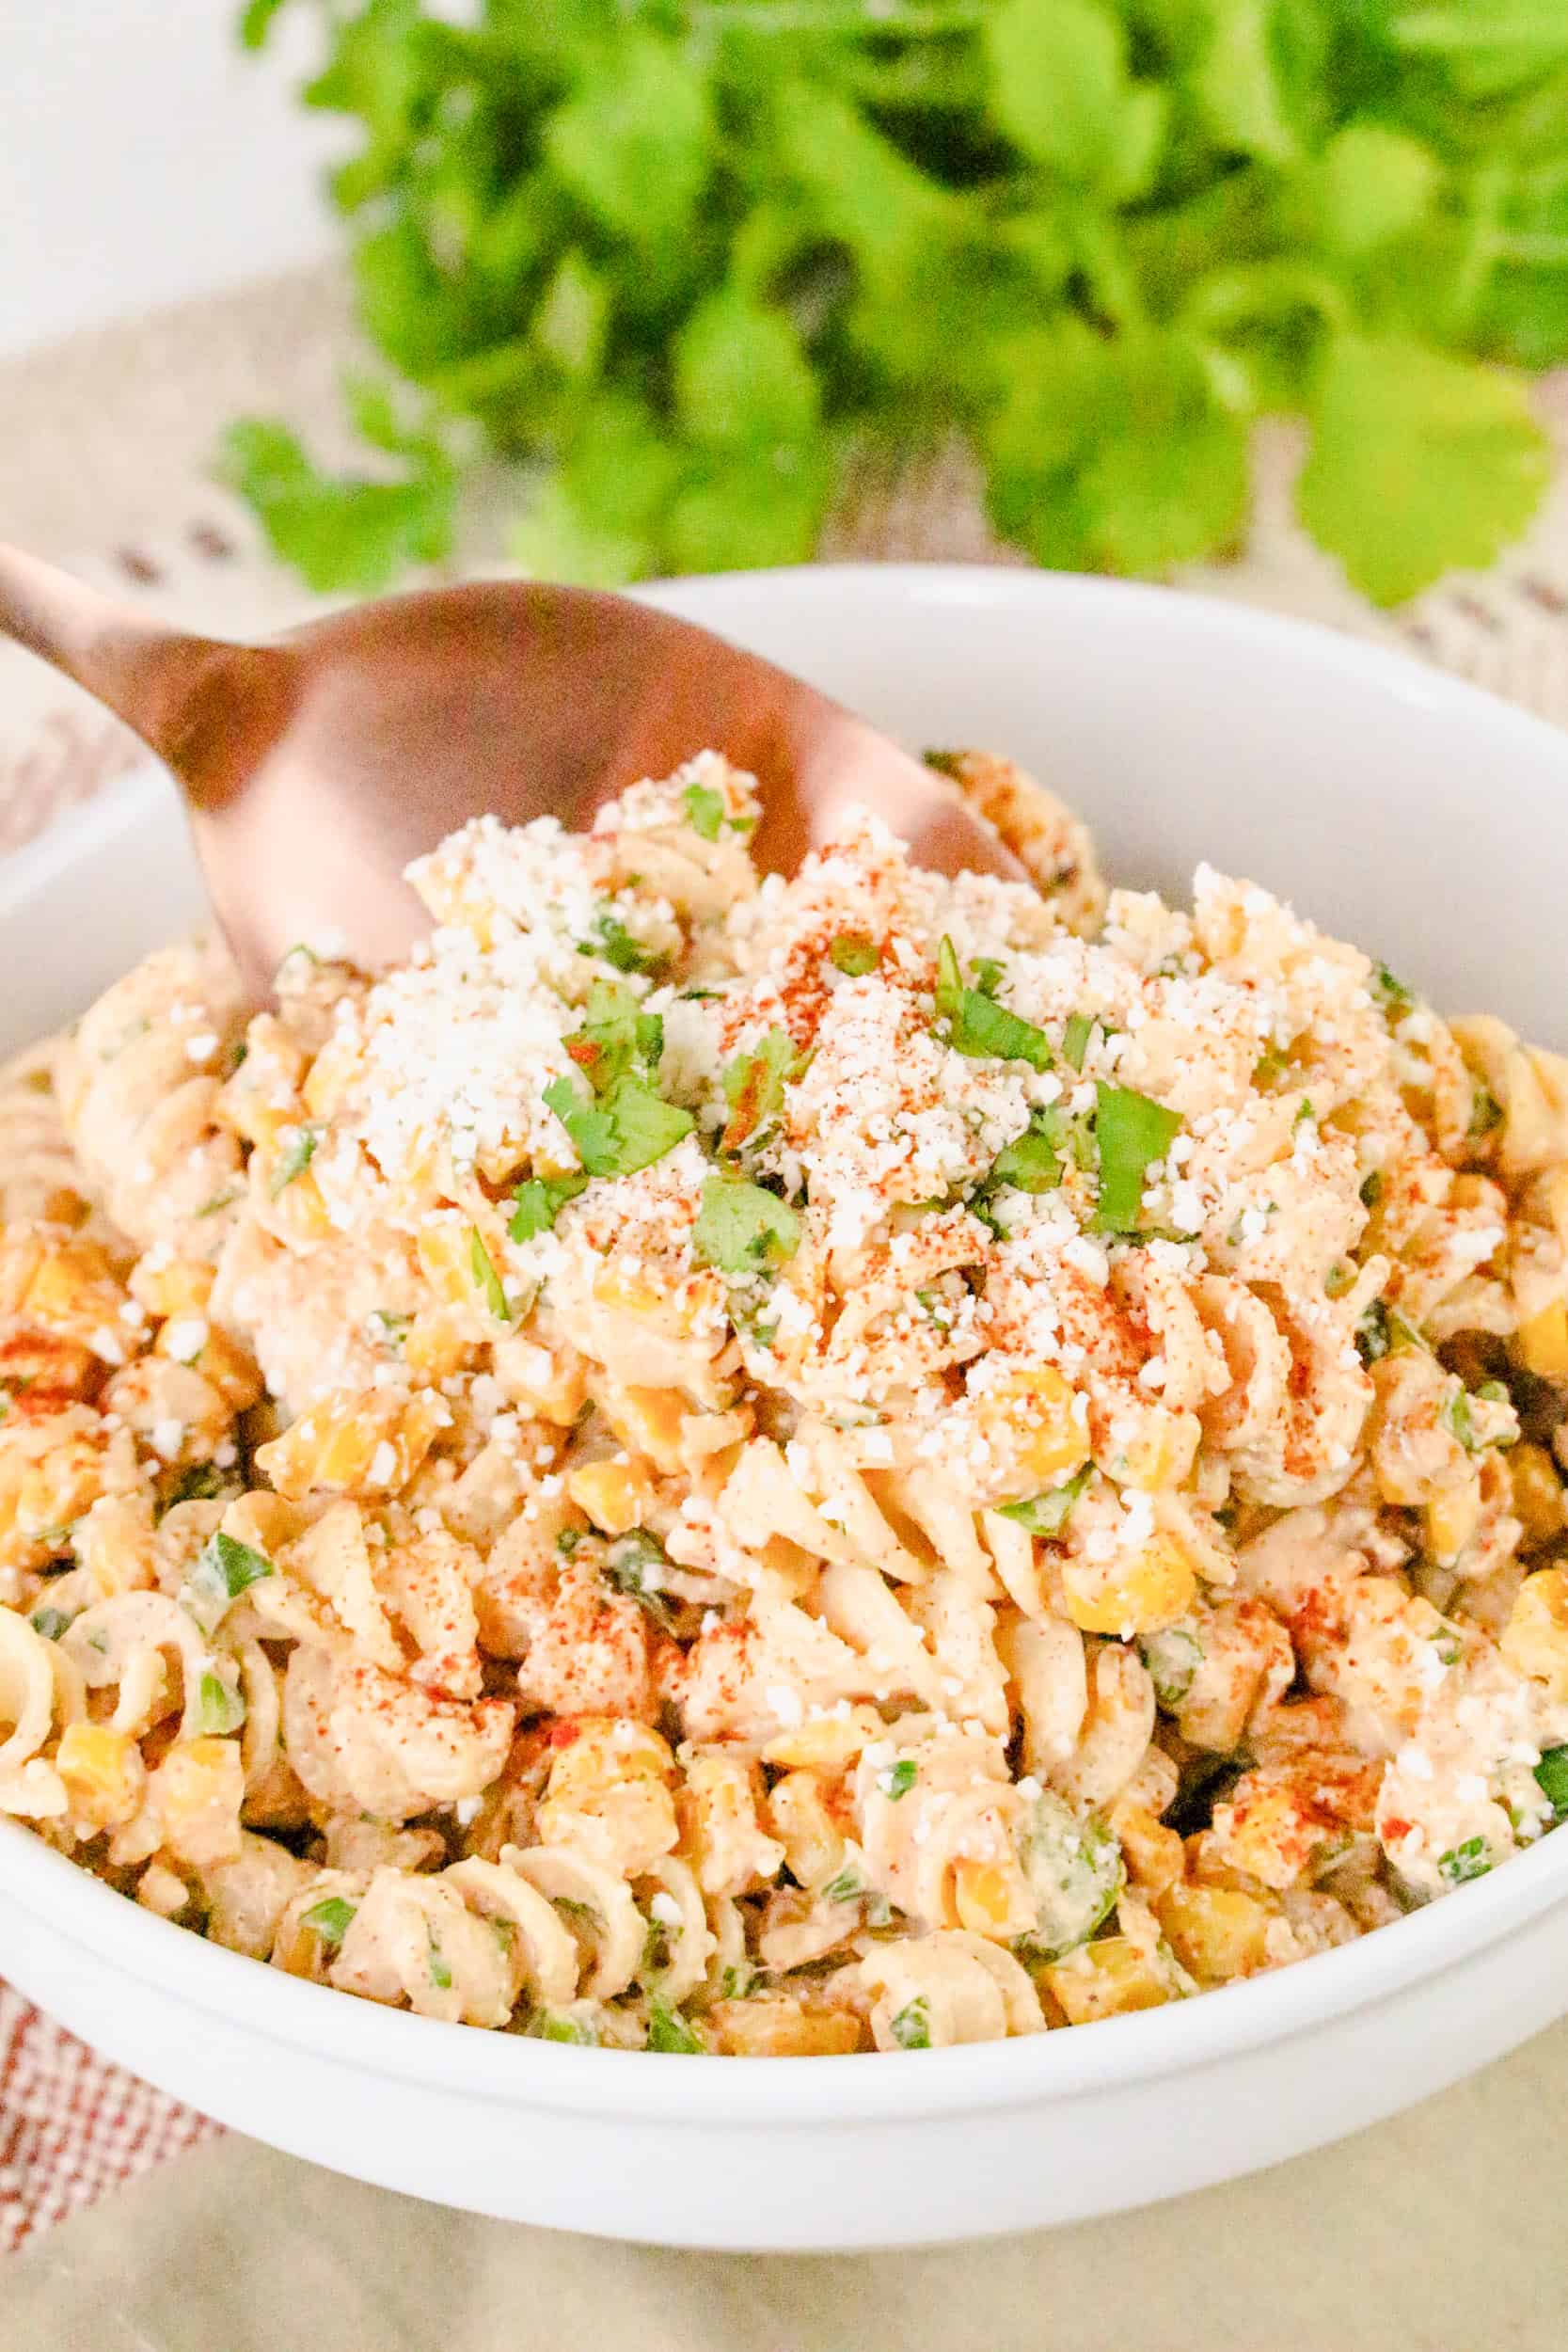
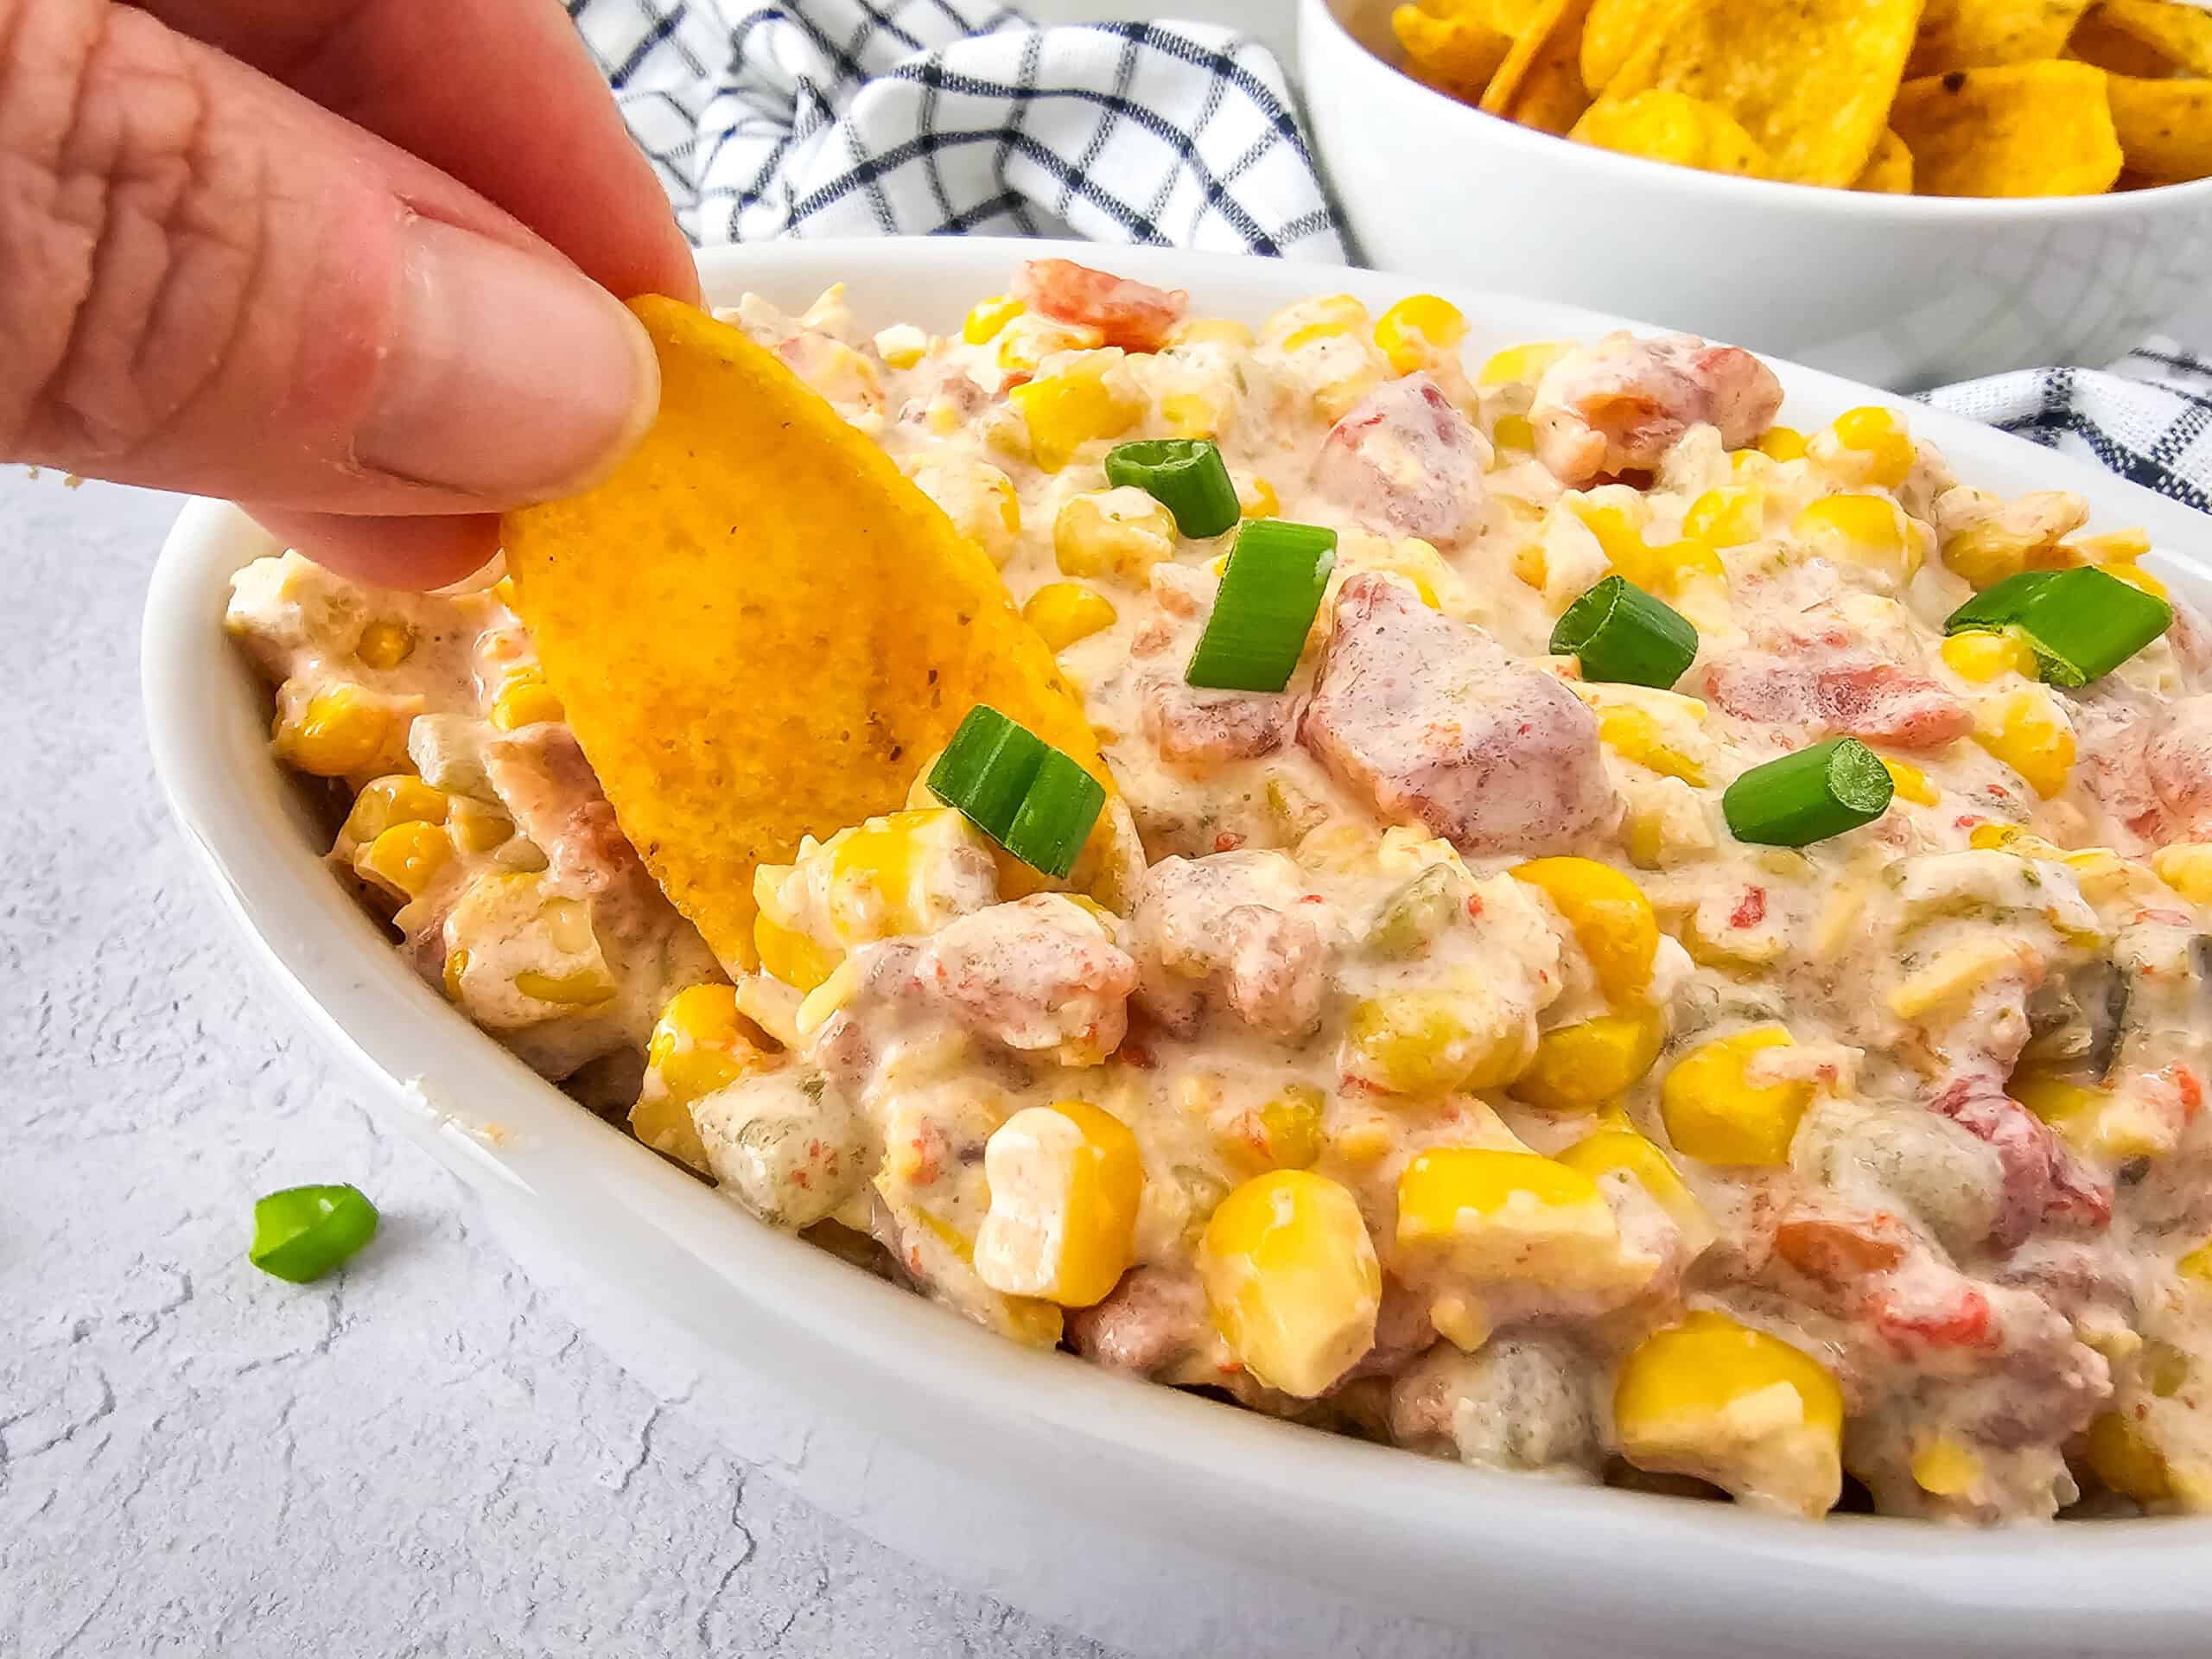
- Mexican Street Corn Dip
- Strawberry Lemonade Cupcakes
 Irresistible Mexican Street Corn Dip: The Ultimate Party Starter
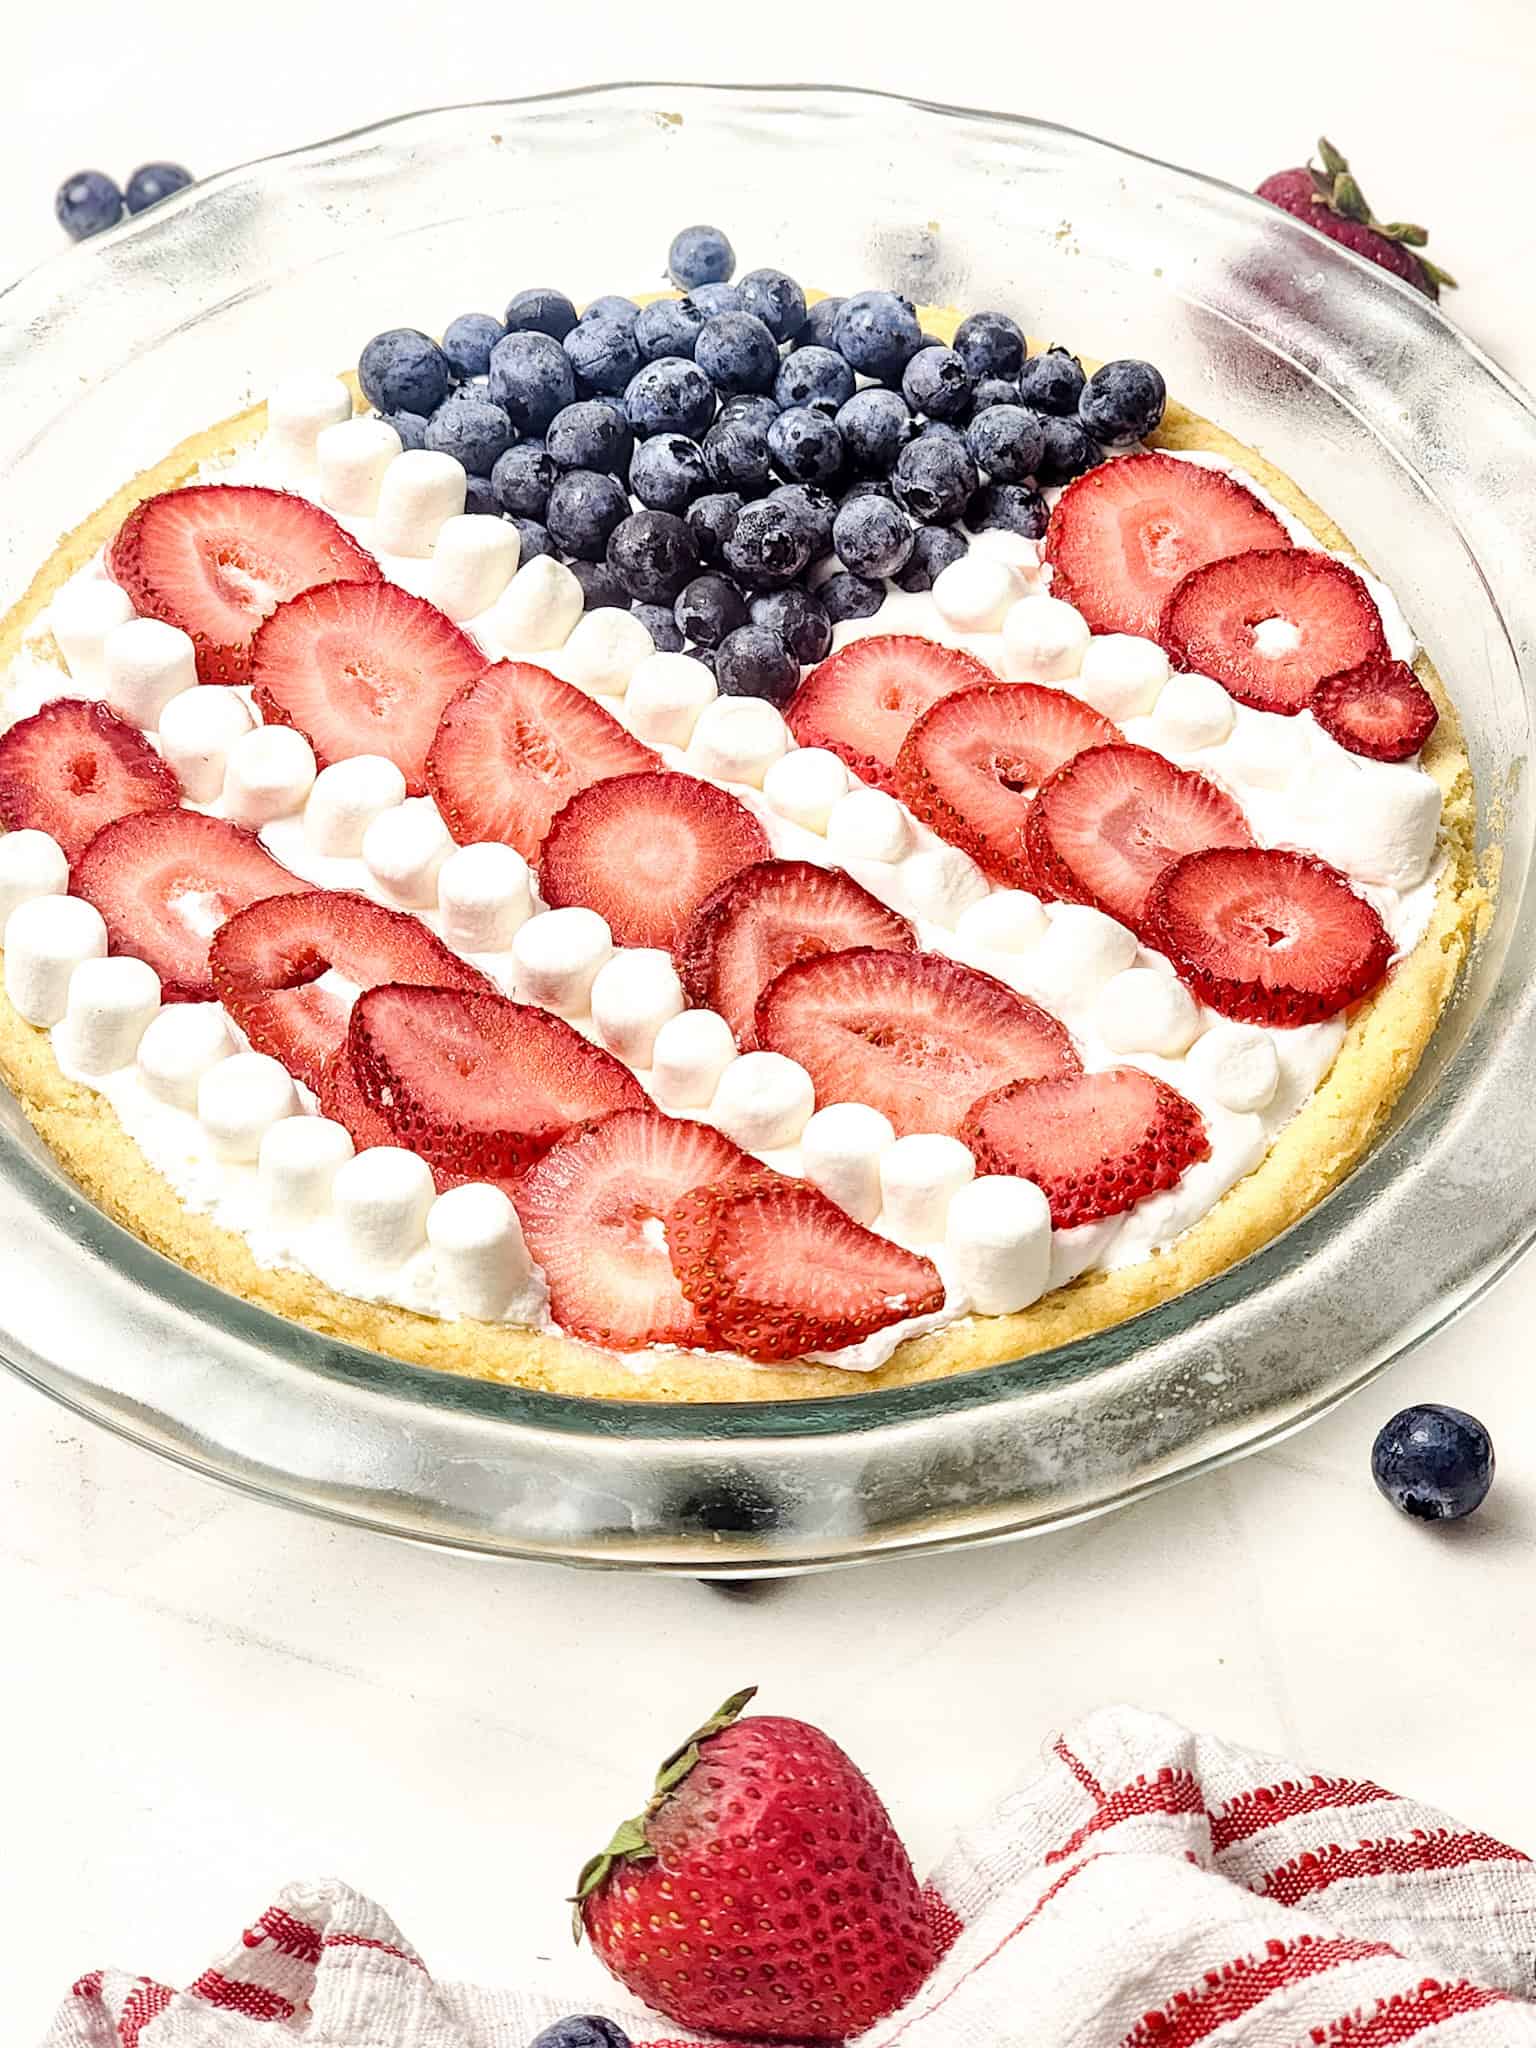
 Easy Fourth of July Fruit Pizza Recipe [American Flag Dessert for Busy People]