You know those desserts that make people stop mid-bite and say, “Wait—what is this?” Yeah. These are those brownies.
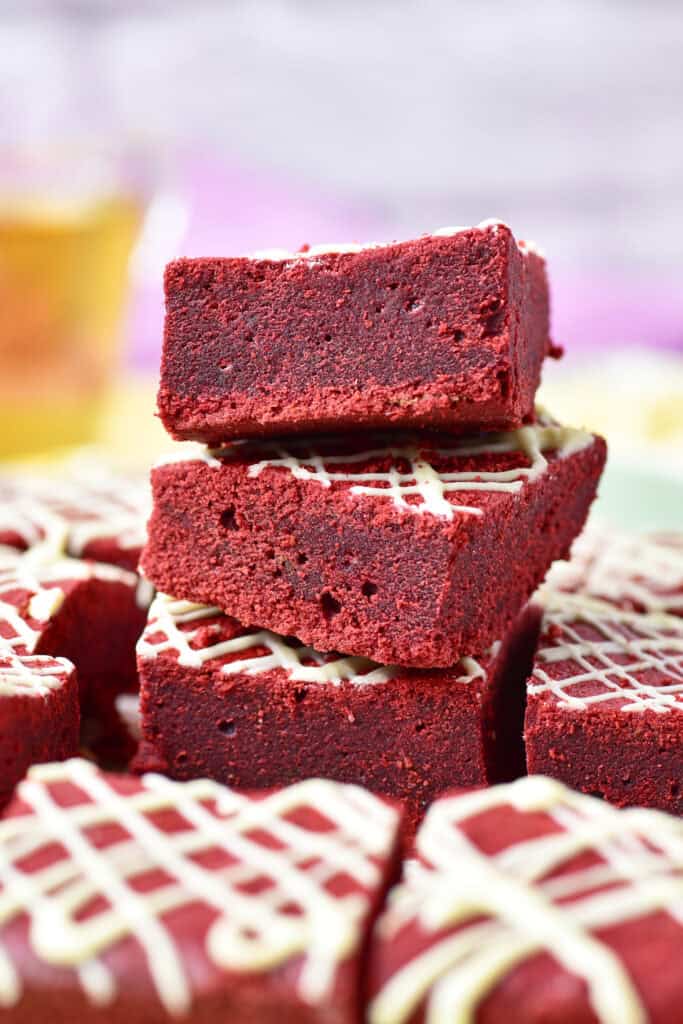
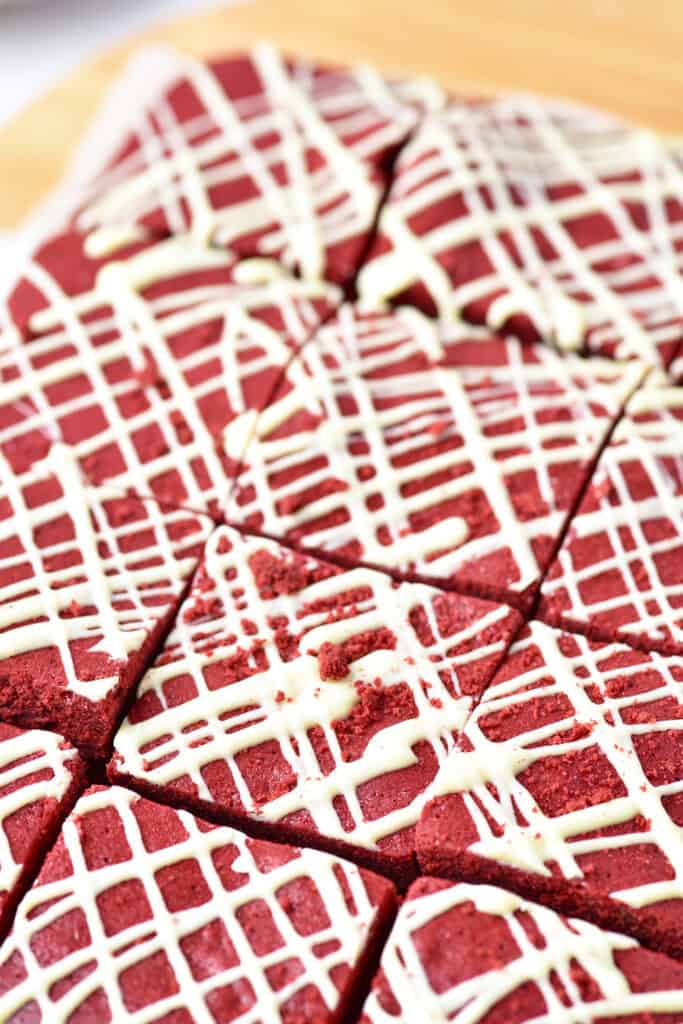
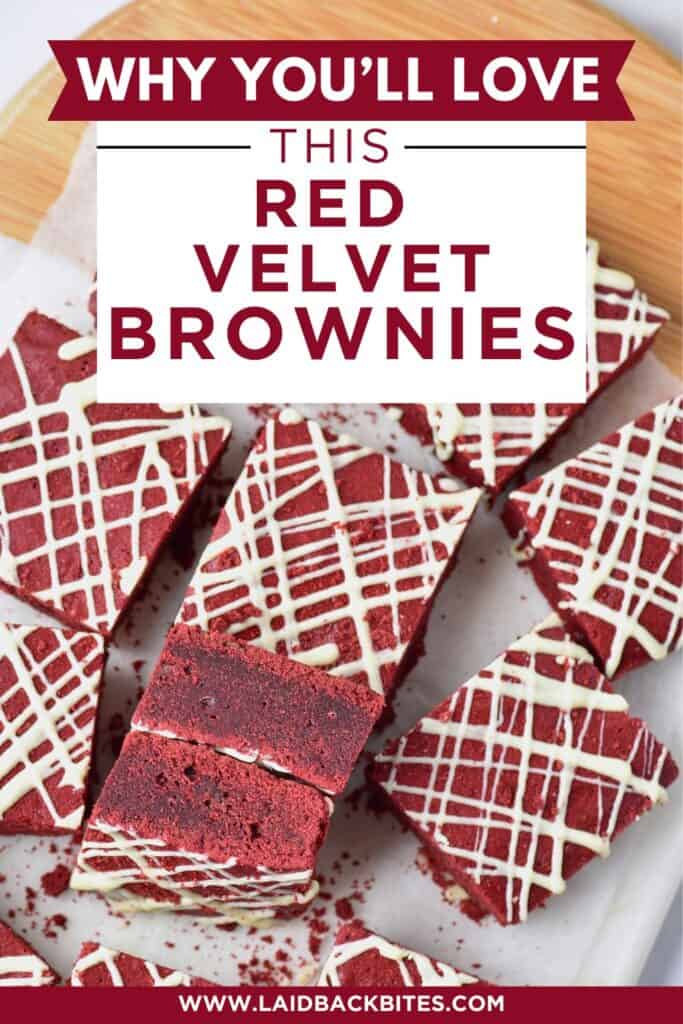
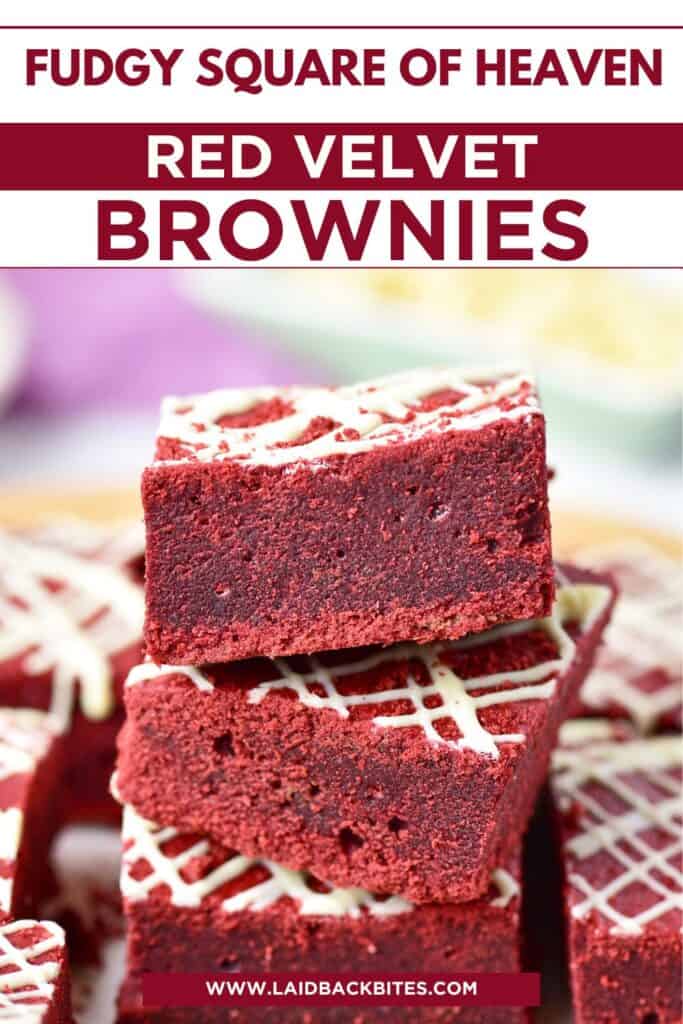
This Red Velvet Brownies recipe takes everything you love about red velvet cake — the hint of cocoa, the deep crimson color, the rich buttery flavor — and turns it into a chewy, fudgy square of heaven. The texture lands somewhere between a brownie and a truffle, with just enough bite to keep you coming back for another piece.
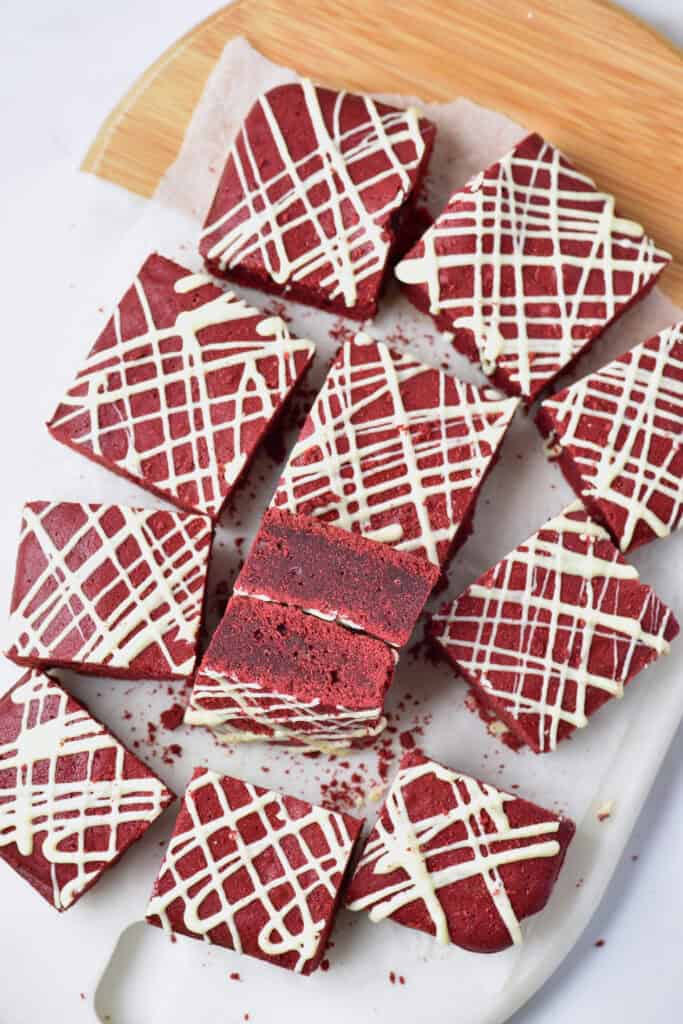
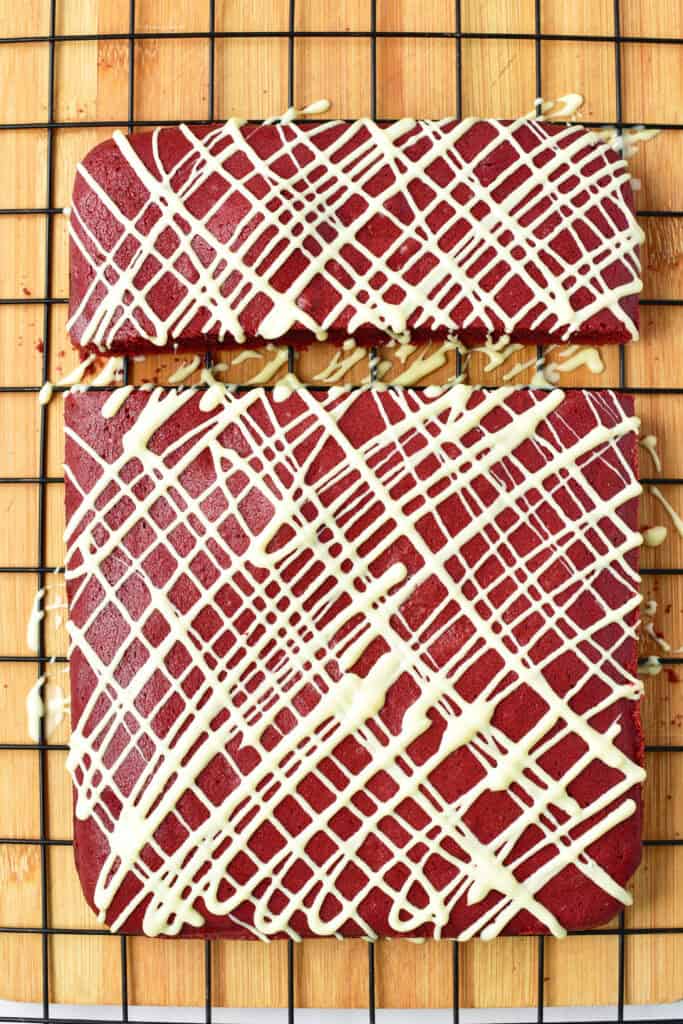
The best part? They’re finished with a silky white chocolate drizzle that hardens into a sweet, glossy topping — the perfect contrast to that rich red velvet base. They’re classy enough for a holiday dessert tray, romantic enough for Valentine’s Day, and honestly, irresistible enough for an ordinary Tuesday when you just need something indulgent.
And if you’re short on time? I’ve got you covered with a super quick cake mix shortcut that still delivers all the red velvet brownie magic without the fuss.
Table of Contents
Why You’ll Love This Recipe
- Fudgy and rich — not cakey. These brownies have that chewy, melt-in-your-mouth texture that makes them feel downright luxurious.
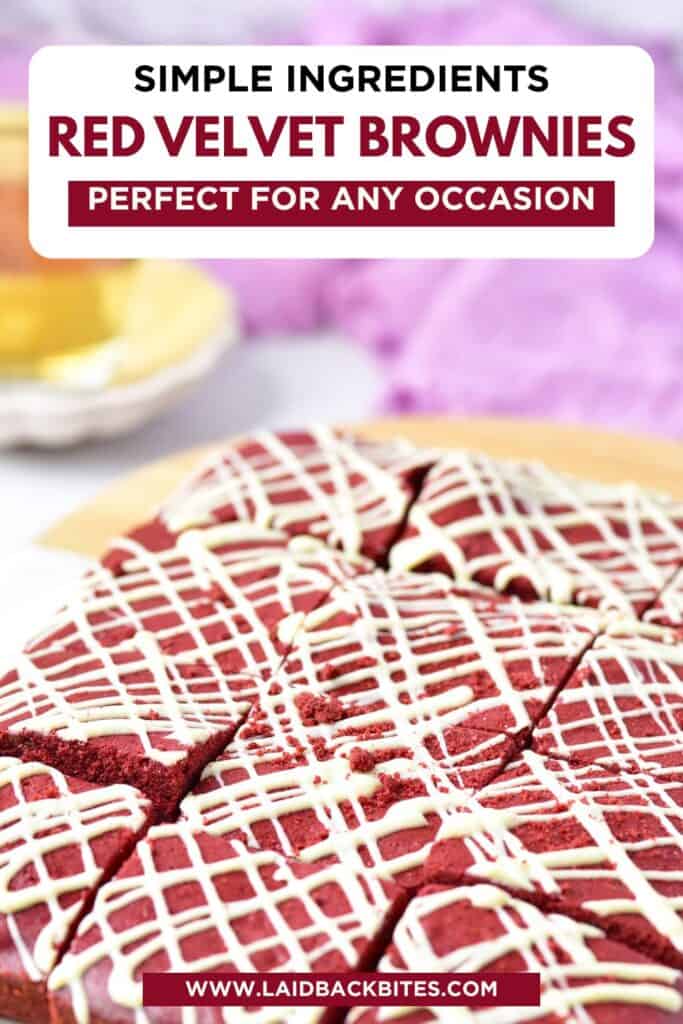
- Simple ingredients, big payoff. You probably have everything you need already, and there’s no complicated technique or fancy equipment involved.
- That white chocolate drizzle. It’s the finishing touch that takes them from “good brownies” to bakery-worthy dessert. It adds sweetness, shine, and just the right amount of contrast.
- Perfect for any occasion. Valentine’s Day, Christmas, anniversaries, or honestly just a “treat yourself” kind of night — these red velvet brownies fit right in.
- Easy to adapt. You can make them completely from scratch or take the shortcut with red velvet cake mix and still get amazing results.
- Guaranteed to impress. They look elegant but take barely any time — the best kind of recipe to make you look like you tried way harder than you did.
Ingredients Overview
Here’s what makes these Red Velvet Brownies so rich, buttery, and perfectly chewy — no fancy ingredients, just classic staples coming together for serious dessert magic.
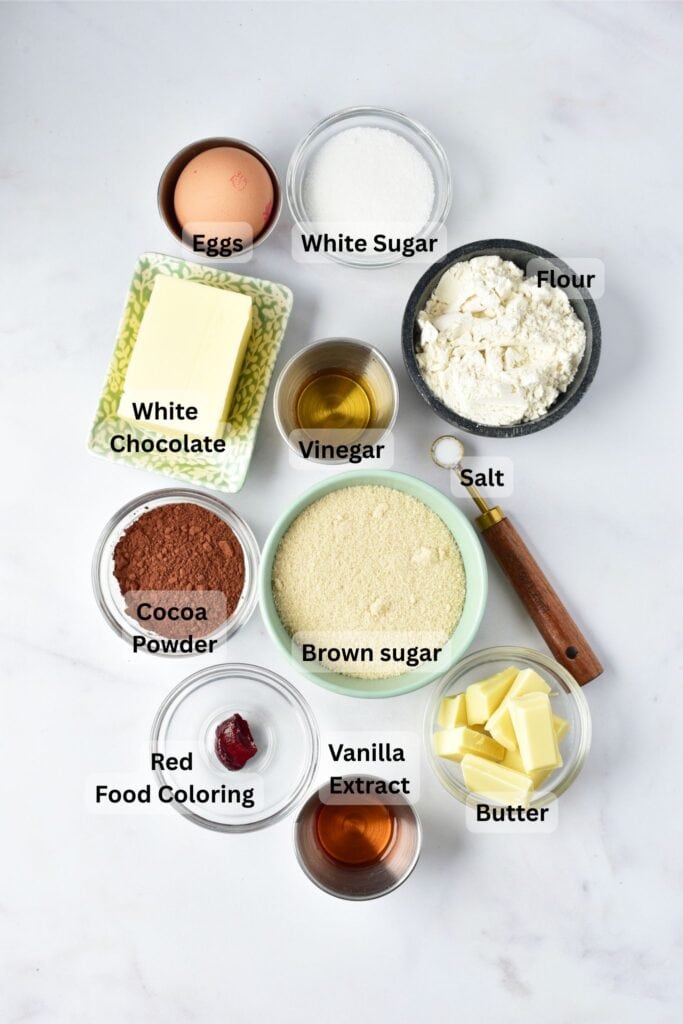
Butter – The base of that deep, fudgy texture. Melted butter helps the brownies bake up chewy instead of cakey.
Brown & White Sugar – Brown sugar gives a hint of caramel depth while white sugar keeps things balanced and sweet. Together, they create that glossy top we all want in a brownie.
Cocoa Powder – Adds just enough chocolate flavor to keep the red velvet vibe without overpowering the tang.
Eggs & Vanilla Extract – The glue that binds it all together and adds richness.
Red Food Coloring – The signature move. A little goes a long way to get that gorgeous deep crimson color.
Flour & Salt – Just enough to hold everything together while keeping the texture dense and fudgy.
Vinegar – The secret ingredient that enhances the color and gives that subtle red velvet tang.
White Chocolate – The perfect contrast for drizzle — smooth, creamy, and sweet against the cocoa base.
Step-by-Step Instructions
1. Preheat and prep.
- Set your oven to 356°F (180°C). Line a baking dish with parchment paper or lightly grease it — you don’t want any of that fudgy goodness sticking behind.
2. Melt the butter.
- In a small saucepan or the microwave, melt the butter until smooth. Let it cool slightly so it doesn’t scramble your eggs later.
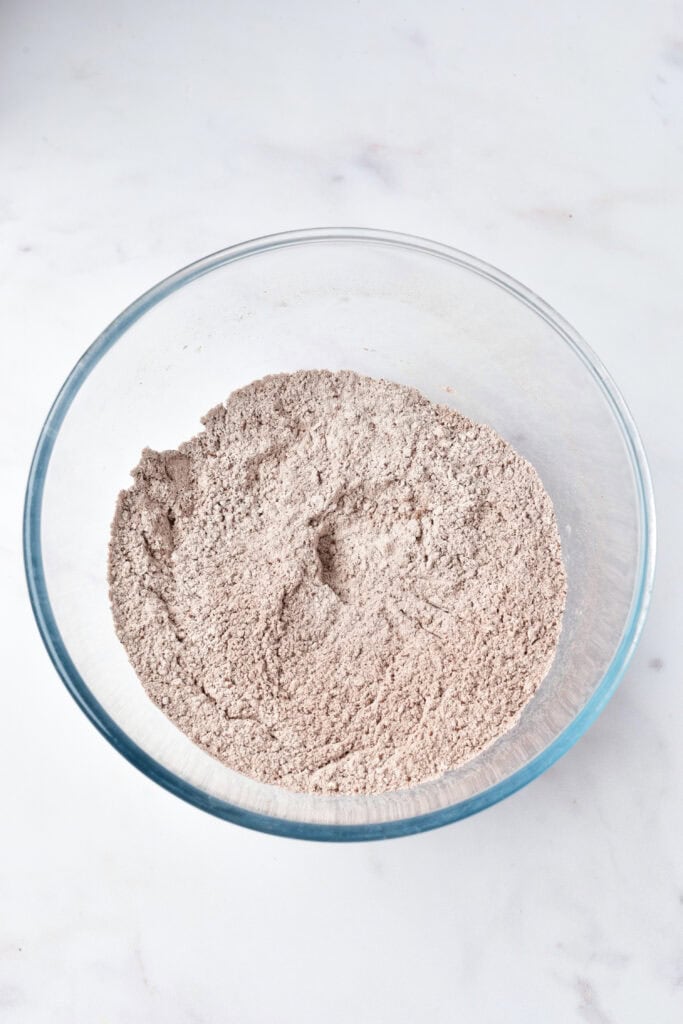
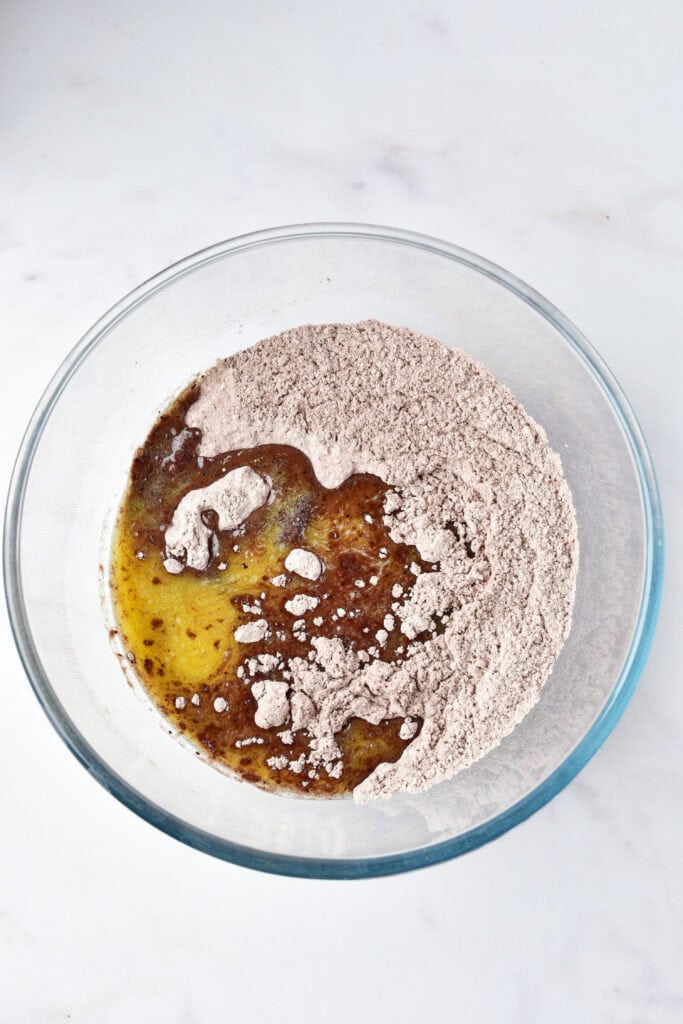
3. Mix your dry ingredients.
- In a large bowl, whisk together the cocoa powder, sugars, flour, and salt. This ensures everything’s evenly distributed before you add the wet ingredients.
4. Add the wet ingredients.
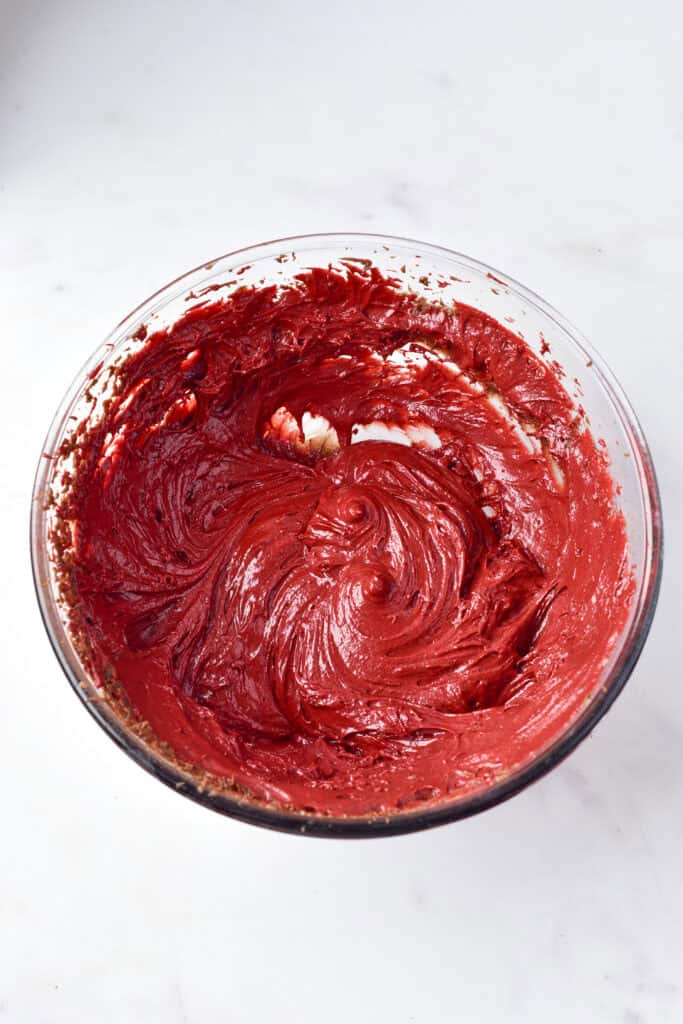
- Pour in the melted butter, then add the vanilla extract, eggs, vinegar, and red food coloring. Stir until fully combined and that deep red color starts to shine through.
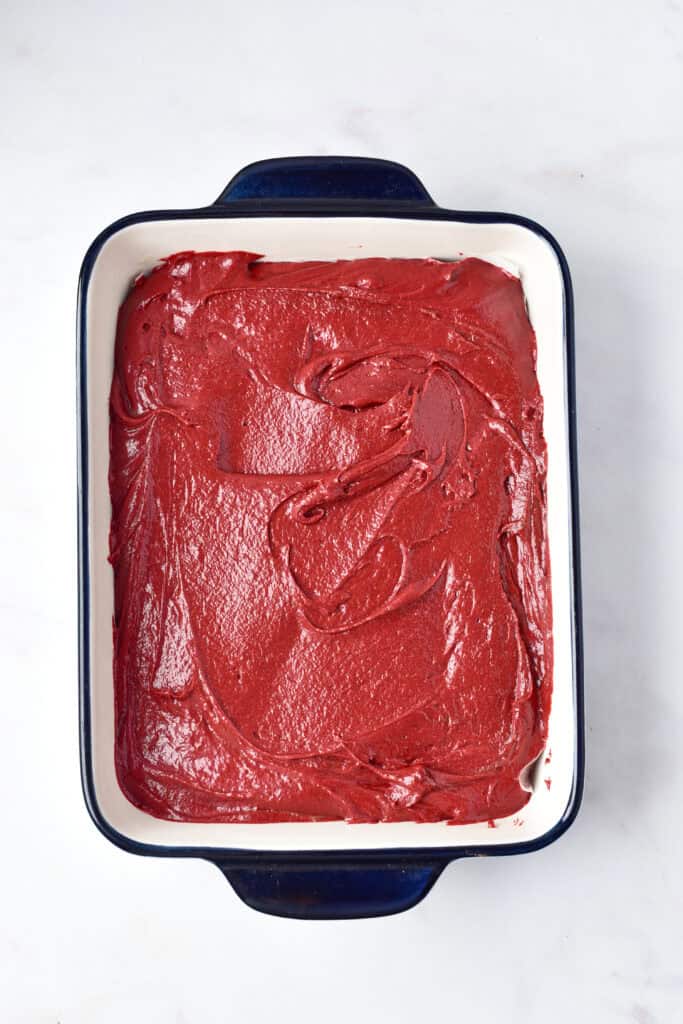
5. Pour and bake.
- Spread the batter evenly into your prepared pan. Bake for 20–23 minutes, or until the edges are set but the center is still slightly soft — that’s how you get that perfect fudgy texture.
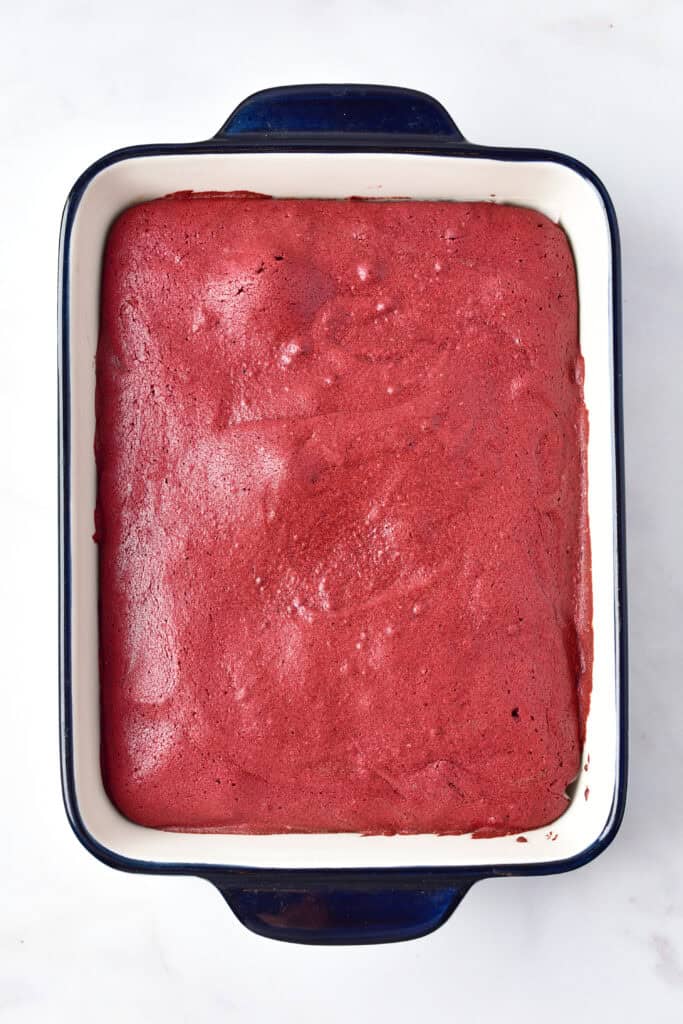
6. Cool and drizzle.
- Let the brownies cool in the pan for about 20 minutes (yes, it’s hard to wait). While they cool, melt your white chocolate in 30-second bursts in the microwave, stirring between each one. Drizzle it generously over the brownies, then let it set for 30 minutes.
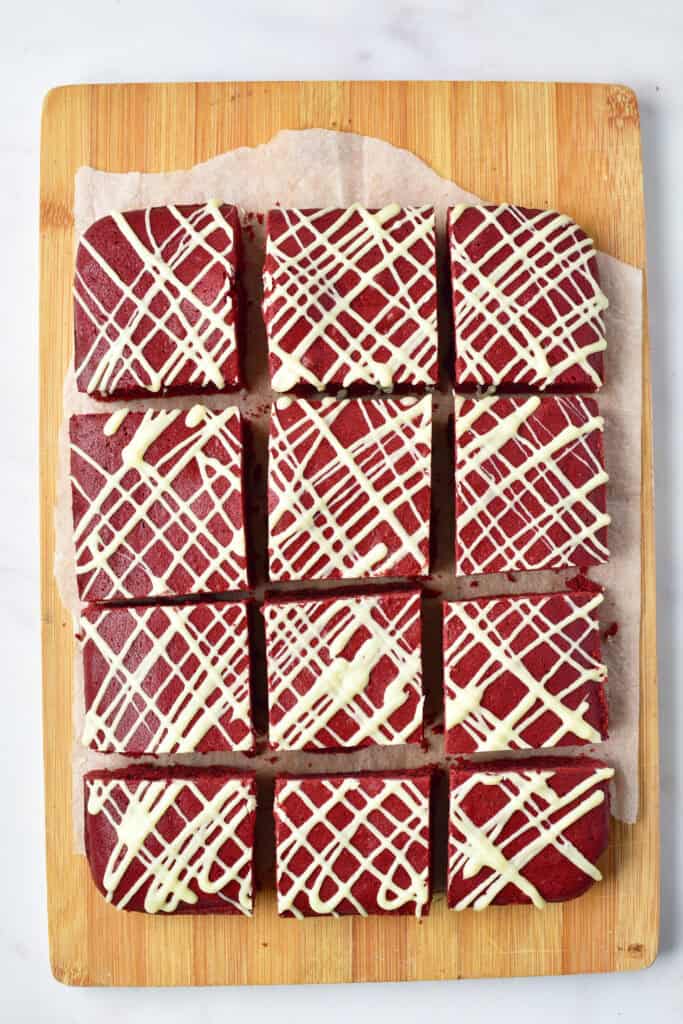
7. Slice and serve.
- Cut into squares once the chocolate has firmed up. Grab one before they’re gone — trust me, they disappear fast.
How to Make Red Velvet Brownies with Cake Mix
Short on time but still craving that rich red velvet flavor? Here’s how to make red velvet brownies using cake mix without losing that dense, chewy texture.
What you’ll need:
- 1 box of red velvet cake mix
- 2 large eggs
- ½ cup melted butter (or oil if that’s what you have)
How to do it:
- Preheat your oven to 350°F (175°C) and line a baking dish with parchment paper.
- In a large bowl, mix together the cake mix, melted butter, and eggs. The batter will be thick—more like cookie dough than cake batter. That’s exactly what you want.
- Spread the mixture evenly into your prepared pan. Use the back of a spoon or your fingers to press it into the corners.
- Bake for 18–22 minutes, just until the edges look set but the center is slightly soft. Overbaking will turn them cakey instead of fudgy.
- Let them cool completely, then drizzle with melted white chocolate (or swirl in cream cheese frosting before baking if you’re feeling extra).
You’ll end up with chewy, decadent red velvet brownies that taste like you spent all afternoon baking — even if they only took twenty minutes.
Tips & Storage
1. Don’t overbake.
This is the golden rule of brownie-making. Pull them out when the center still looks slightly soft — they’ll continue to set as they cool. Overbaking turns fudgy into cakey fast.
2. Line your pan.
Parchment paper makes removal (and cleanup) a breeze. You’ll get those perfect, square edges without any crumbling.
3. Let them cool before cutting.
Warm brownies are tempting, but slicing too early leads to a mess. Let them set for at least 20 minutes, or refrigerate briefly if you want ultra-clean edges.
4. Get creative with toppings.
White chocolate drizzle is a classic, but cream cheese frosting, crushed peppermint, or even a scoop of ice cream all play well here.
5. Use gel food coloring.
It gives a bold, deep red color without watering down the batter.
6. Storage:
- Room temp: Keep in an airtight container for up to 3 days.
- Fridge: Store up to 5 days for a firmer, fudgier bite.
- Freezer: Wrap individual squares and freeze up to 2 months. Thaw overnight in the fridge before serving.

FAQ
Can I use boxed red velvet cake mix instead of making the batter from scratch?
Yes! Just mix one box of red velvet cake mix with two eggs and half a cup of melted butter or oil. It’ll give you chewy, fudgy brownies in half the time — not cakey ones, I promise.
Do I need to add the vinegar?
It might sound odd, but yes. The vinegar enhances the red color and gives that subtle tang that makes red velvet taste so distinct. You won’t actually taste it in the final product.
Can I add cream cheese frosting instead of white chocolate?
Absolutely. Spread or drizzle it on top once the brownies have cooled, or swirl it into the batter before baking for a red velvet–meets–cheesecake vibe.
How do I get clean brownie slices?
Let them cool completely and use a warm, clean knife. Wipe between cuts — it’s a tiny bit of effort for perfect edges that make you look like a pro.
Can I double the recipe for a crowd?
Yep. Just bake it in a 9×13 pan and add a few extra minutes to the bake time. Check at 25 minutes; the center should still be slightly soft.
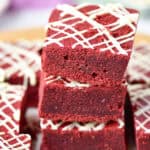
Red Velvet Brownies
Ingredients
- 1 cup butter
- 1 cup brown sugar
- 1/2 cup white sugar
- 3 tbsp cocoa powder
- 2 eggs
- 1 tbsp vanilla extract
- 1 1/2 tsp red food coloring
- 1 1/2 tsp all-purpose flour
- 1/3 tsp salt
- 1 tbsp wine red vinegar
- 30 g white chocolate
Instructions
- Preheat the oven to 356°F (180°C). Melt the butter. In a large bowl, combine all dry ingredients.
- Add the melted butter to the dry mixture and stir to combine.
- Add the vanilla extract, vinegar, and eggs and mix until well blended.
- Stir in the red food coloring until fully incorporated.
- Transfer the batter to a baking dish. Bake for 20-23 minutes.
- Allow the brownies to cool for about 20 minutes in the baking dish.
- Melt the white chocolate in the microwave in 30-second intervals, stirring between each. Drizzle the melted chocolate over the brownies and let it set for 30 minutes.
- Cut into squares and serve.
Final Thoughts
These Red Velvet Brownies are the kind of dessert that look fancy, taste incredible, and require way less effort than anyone will believe. Between the rich cocoa flavor, that vibrant red hue, and the silky white chocolate drizzle, they strike the perfect balance between comfort and elegance.
Make them from scratch when you’re feeling extra — or grab a cake mix when you just need dessert to happen fast. Either way, you’ll end up with fudgy, chewy squares that disappear off the plate in record time.
One bite in, and you’ll see why this red velvet brownies recipe earns a permanent spot in your dessert rotation — equal parts cozy, classy, and completely addictive.
Sarah Lee is an ER doctor and the creator of Laid Back Bites, where she shares simple, stress-free recipes for busy lives. Living on a farmette in Oklahoma with her husband, 4 horses and 4 cats, she combines her experience in a high-pressure career with a passion for easy, comforting meals. Her unique perspective brings a sense of balance and practicality to the kitchen, helping readers create delicious dishes without the stress.
Hope you like this recipe, you may also like:
Try these gooey, crunchy cookies that mash up s’mores and Oreos into one irresistible treat.
A colorful, chewy cookie bar loaded with M&Ms. Perfect for parties or an everyday sweet fix.
Easy chocolate-dipped Oreos decorated for Valentine’s flair. Ideal for a fun DIY dessert or gift.
 Easy No Bake Cheesecake Christmas Dessert with Sugar Cookie Crust