Looking for a sweet and festive treat to celebrate Valentine’s Day? Valentine’s Day Marshmallow Pops are here to make your holiday extra special! These adorable valentines marshmallow pops are made with fluffy valentine’s day marshmallows, dipped in creamy melted chocolate, and decorated with sprinkles, drizzles, and more. Perfect for sharing, gifting, or enjoying at home, these marshmallow dipped chocolate treats are so much fun to make and customize.
Whether you’re planning a party, creating gifts, or enjoying a cozy day indoors, these chocolate-dipped marshmallows are an easy and delicious way to add sweetness to your Valentine’s Day celebration.
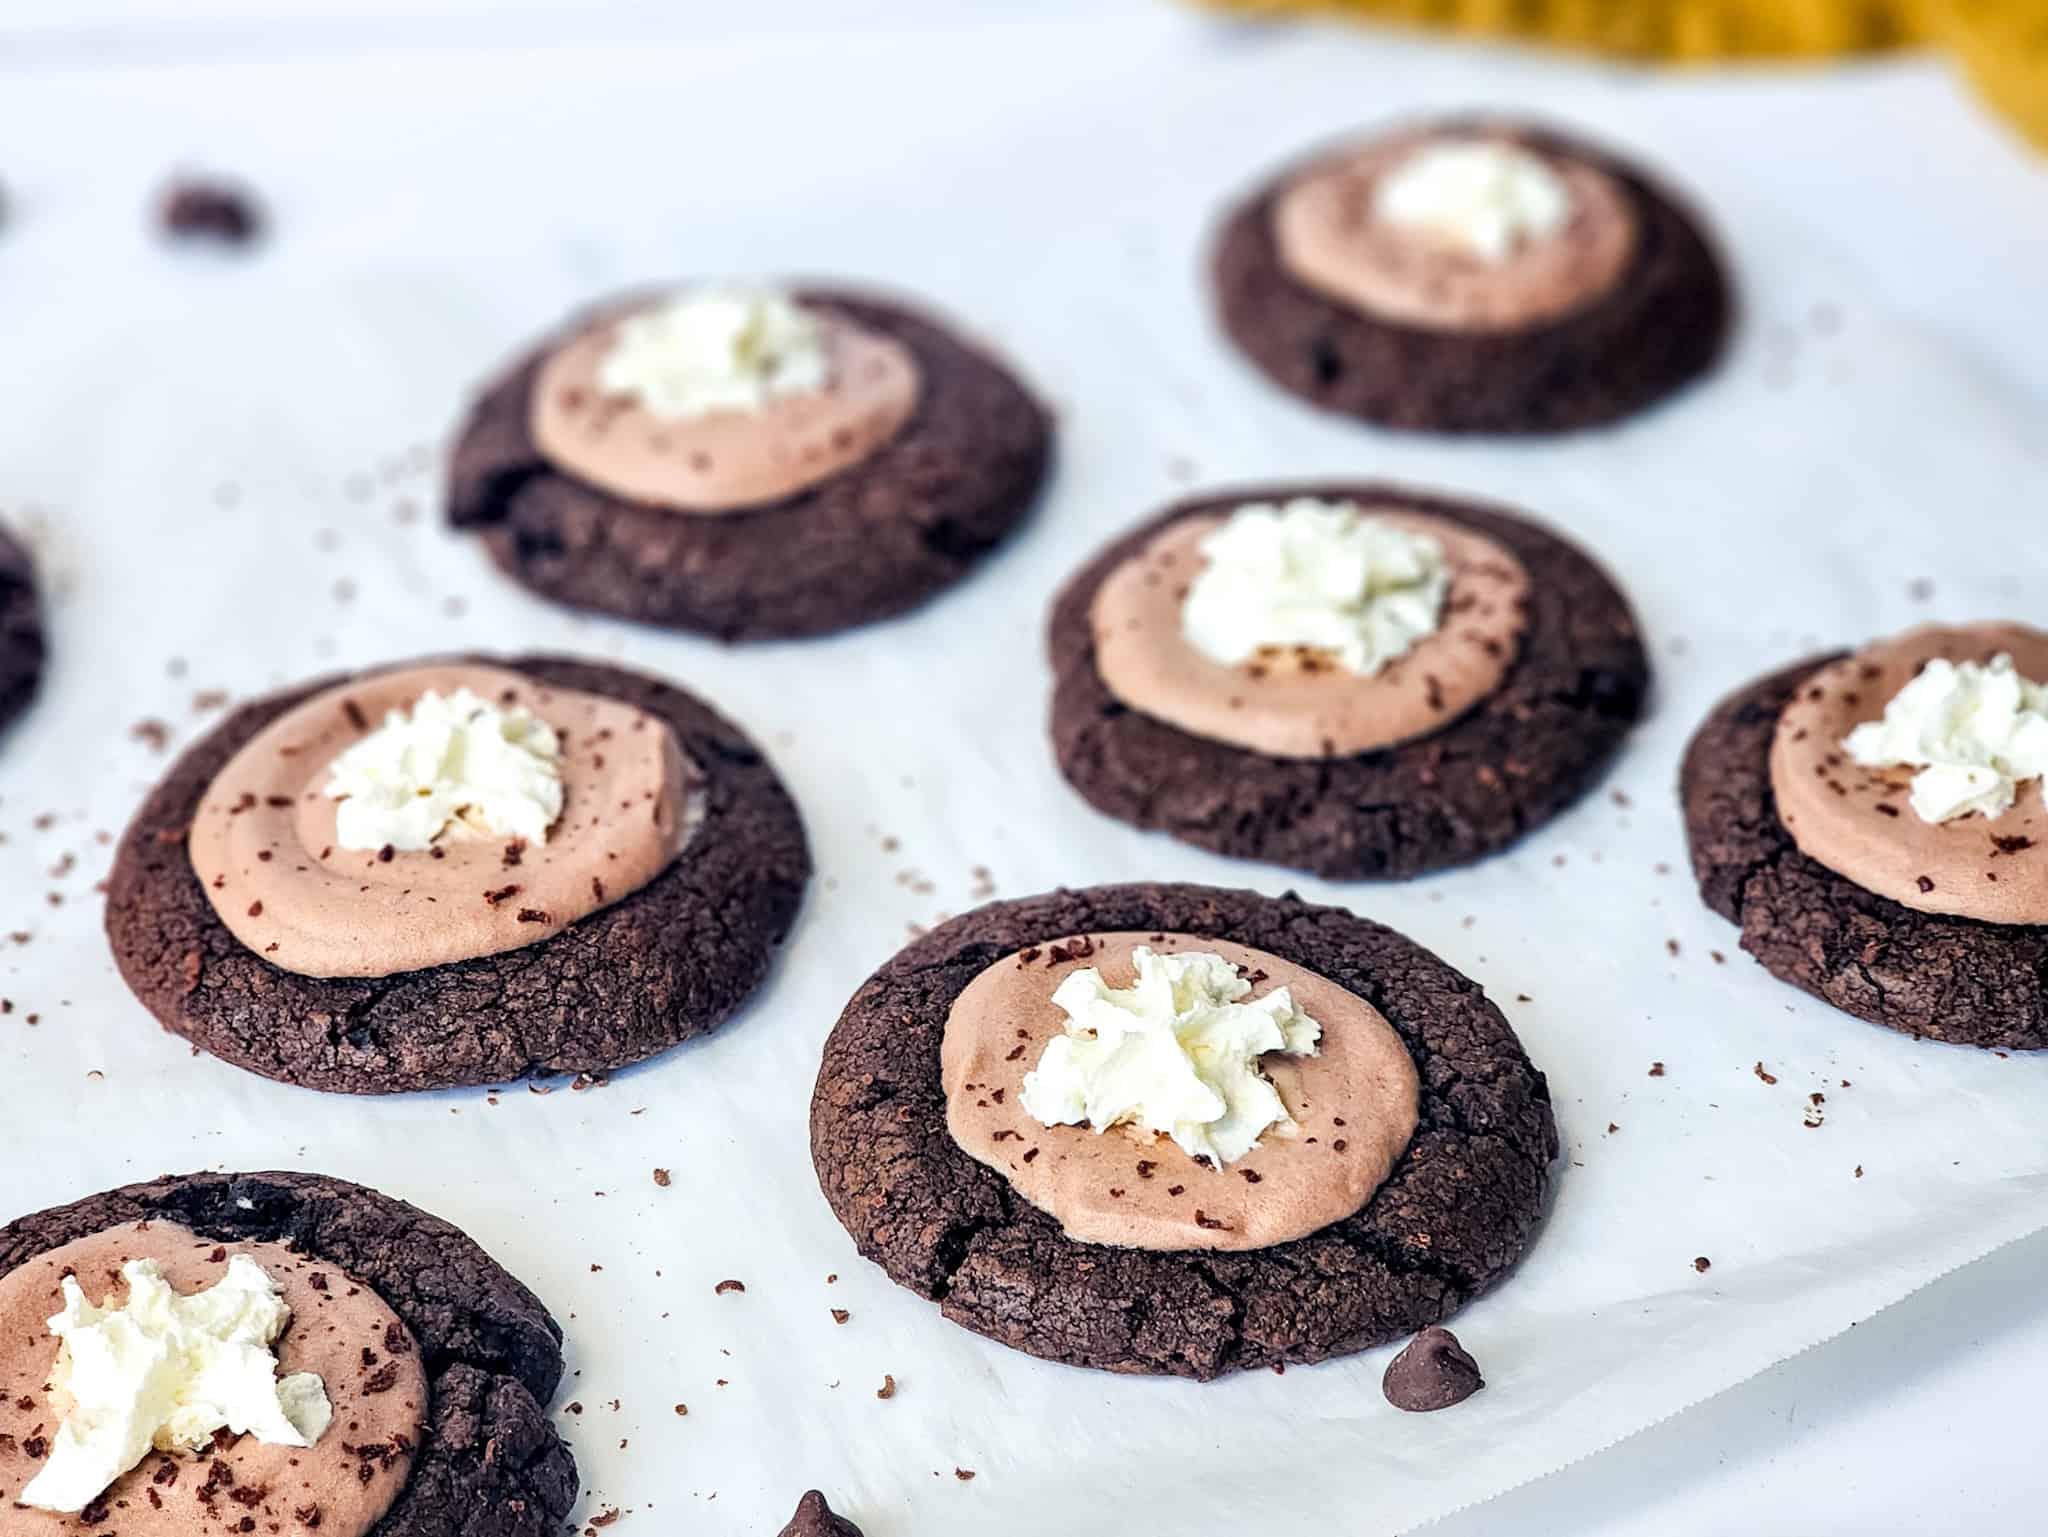
Looking for other fun Valentine’s Day themed treats? Try my Chocolate Dipped Oreos!
Table of Contents
Why You’ll Love Valentine’s Day Marshmallow Pops

- Perfect Valentine’s Treat: These chocolate-dipped marshmallows are festive, delicious, and great for sharing.
- Easy to Make: With just a few simple ingredients, they’re quick and fun to whip up.
- Customizable: You can make these pops your own with colorful candy melts, drizzles, and decorations.
- Great for Gifting: Pack them in small bags or boxes for a thoughtful Valentine’s gift.
Ingredients and Tools Needed
Ingredients

Creating marshmallow Valentine’s Day pops is simple and fun with just a few ingredients:
- Valentine’s Marshmallows: Large marshmallows or heart-shaped marshmallows are the stars of this treat.
- Candy Melts: Choose red, pink, and white candy melts for a festive look.
- Chocolate Chips: Semi-sweet, milk, or dark chocolate chips work perfectly for dipping.
- Lollipop Sticks: Essential for making these into pops and easy to eat!
- Pink Sprinkles: Add some flair with pink sprinkles, heart shapes, or edible glitter.
- Coconut Oil: A small amount helps create smooth, dip-worthy melting chocolate.
Tools
- Parchment Paper: A must for setting your valentine marshmallow pops without sticking.
- Mixing Bowl: Use a microwave-safe one for melting your chocolate chips or candy melts.
- Ziploc Bags: Great for drizzling melted candy melts onto your valentine’s day marshmallows.
- Small Cellophane Bags: Perfect for wrapping each pop as a gift or party favor.
Preparing Your Marshmallow Pops
Creating Valentine’s Day Marshmallow Pops is just as much about the preparation as it is the decorating. A smooth setup ensures the process is easy, fun, and mess-free. Before you begin, set yourself up for success by organizing your ingredients, tools, and work area.
Assembling the Marshmallows

Start by grabbing your marshmallows and lollipop sticks or decorative straws. Each stick will hold three marshmallows. Here’s how:
- Push the Marshmallows onto the Stick: Slide the first marshmallow onto the stick, about ¾ of the way down. Add the second marshmallow with a small gap, followed by the third, keeping them even.
- Leave Space for Dipping: Keep a little room between each marshmallow. This not only looks visually appealing but also ensures smooth dipping without messes.
- Check Stability: Give the stick a gentle shake. The marshmallows should feel firmly in place but not squished. If they wiggle too much, center the stick better for balance.
This step is where the magic starts. Think of the marshmallows as blank canvases—ready for their Valentine’s Day makeover!
Setting Up the Workspace
A well-organized workspace makes all the difference. Transform your countertop into the ultimate marshmallow pop prep station with these tips:
- Line Your Surface: Use parchment paper or a silicone mat to cover your countertop. This creates a non-stick surface for drying your marshmallow pops.
- Prep Dipping Bowls: Choose microwave-safe bowls for melting chocolate and candy melts. Taller, narrow bowls (or even glasses) make dipping much easier and more precise.
- Arrange Decorating Tools: Lay out heart sprinkles, candy melts, and any other decorations in small bowls or containers within easy reach. This way, you can work quickly without hunting for materials.
- Keep Cleanup Simple: Have paper towels or a damp cloth nearby for wiping accidental drips or sticky fingers.
- Have Space to Cool: Make sure there’s enough room for your pops to lay flat on the parchment paper while the chocolate hardens.
When everything is ready, you’ll feel like a chef in your own little dessert studio. The next step is all about dipping and decorating, where the true Valentine’s magic happens!
Melting and Preparing the Chocolate

Melting chocolate is a key moment in making Valentine’s Day Marshmallow Pops. Get this part right, and the rest will follow smoothly. For perfect chocolate-dipped marshmallows, you’ll want to focus on both technique and chocolate type. Here’s how to master this essential step.
Tips for Perfectly Melted Chocolate
Melted chocolate should be silky, smooth, and ready to coat marshmallows effortlessly. Achieving this requires patience and precision. Here are some foolproof methods:
- Microwave Method:
- Use a microwave-safe bowl and heat chocolate in short 20-second bursts at 50% power.
- Stir after every interval until smooth. Chocolate can hold its shape even when melted, so stirring helps avoid overheating.
- Stop microwaving just before it looks fully melted; the residual heat will finish the job.
- Double Boiler Method:
- Place a heatproof bowl over a pot of simmering water (make sure the bowl doesn’t touch the water).
- Stir continuously to prevent scorching, and keep the heat low for better control.
- This method is ideal for beginners as it reduces the risk of burning.
- Pro Tip: If the chocolate seems too thick, add a teaspoon of coconut oil or vegetable shortening to thin it out. Avoid adding water—it will cause the chocolate to seize.
Whether you’re microwaving or using a double boiler, never rush the process. Chocolate burns easily, and a burnt batch can’t be saved. Work slowly and stir often to keep it glossy and lush.
Choosing Between Milk, Semi-Sweet, and White Chocolate
The type of chocolate you choose isn’t just about flavor—it shapes the look and feel of your Valentine’s marshmallows. Each option offers something unique:
- Milk Chocolate:
- Sweet and creamy, this is a crowd-pleaser. It pairs beautifully with marshmallows for a rich, dessert-like bite.
- Visually, milk chocolate gives a classic chocolate-dipped appearance with warm tones.
- It melts easily due to its added dairy, making it super beginner-friendly.
- Semi-Sweet Chocolate:
- Has a less sugary taste with a hint of cocoa bitterness, offering a more balanced flavor.
- Its darker color creates a sophisticated look, perfect if you’re adding colorful decorations on top.
- This is ideal for those who want to tone down the overall sweetness of the pops.
- White Chocolate:
- Sweetest of the bunch, white chocolate is a Valentine’s favorite for its bright, creamy finish.
- Its pale color makes it a fantastic canvas for red, pink, or multicolored drizzle and sprinkles.
- However, it can be tricky to melt compared to milk or semi-sweet due to its lower cocoa butter content. Stir often to avoid clumping.
Mix and match to make your pops stand out! For example, use semi-sweet chocolate as a base and white chocolate for elegant drizzles. The key is to balance taste and make the visuals pop.
Dipping and Coating the Marshmallows

Once your marshmallows are secured on sticks and your chocolate is perfectly melted, it’s time to dive into the most exciting part—dipping and decorating! This is where your Valentine’s Day Marshmallow Pops truly come to life, blending flavor and aesthetics in every bite.
Achieving a Smooth Chocolate Coating
Getting that flawless chocolate coating on your marshmallows doesn’t have to be tricky! With the right technique and a bit of patience, you’ll get a smooth, even layer every time.
- Dip Straight Down: Hold the stick securely and dip your marshmallow stick into the melted chocolate, turning slightly to ensure all sides are coated. A deep bowl or tall glass works best for even coverage.
- Tap Gently: After dipping, gently tap the stick against the edge of the bowl to remove excess chocolate. This avoids thick, uneven clumps and creates a sleek finish. Think of it like knocking off the extra paint from a brush.
- Rotate While Tapping: Rotate the stick as you tap so any excess chocolate drips off evenly, preventing one side from being heavier or messier than the other. Visual symmetry is key!
- Set Without Rushing: Place the dipped marshmallows on a sheet of parchment paper or stick them upright in a styrofoam block to harden. If you’re layering drizzle or sprinkles, work quickly before the chocolate fully sets.
Patience is everything here. Hurrying through this step can lead to smudges or clumps, and nobody wants that on their Valentine’s Day treat!
Using Candy Melts for Drizzling

Drizzles are the icing on the cake—or in this case, the chocolate on the marshmallows! Decorative candy melts in bright Valentine’s colors are the best way to add pops of red, pink, and white.
- Melt Your Candy Melts: Use the same melting method you used for the chocolate, either in a microwave with 20-second bursts or on the stovetop using a double boiler. Remember to stir often for silky smooth results.
- Transfer to a Piping Bag or Spoon: For precision, pour the melted candy into a small piping bag or even a sandwich zip-top bag with a tiny corner snipped off. No bag? No problem—use a spoon to drizzle directly.
- Drizzle Like a Pro: Hold the piping bag or spoon a few inches above the chocolate-coated marshmallows and move it back and forth in a zigzag motion. Alternate colors for maximum effect!
- Add Sprinkles Immediately: Candy melts harden quickly, so if you’re adding sprinkles or edible glitter, do so right after you drizzle. This locks the decorations in place.
Layering candy melt drizzles is one of the easiest ways to elevate your Valentine’s Day Marshmallow Pops, creating texture and contrast. It’s like adding brushstrokes to a canvas, but edible and festive!
Decorating Your Pops

Decorating marshmallow pops is where creativity takes center stage. It’s your chance to turn ordinary marshmallows into festive, eye-catching treats. The key to success is balancing technique with a little imagination. Whether you’re adding sprinkles, using vibrant candy melts, or customizing for other holidays, this part of the process is fun, straightforward, and sure to impress. Let’s make your Valentine’s Day Marshmallow Pops truly stand out.
Applying Sprinkles and Edible Decorations

Adding sprinkles to chocolate-dipped marshmallows might seem simple, but timing is everything. Here are some practical tips to get that polished look every time:
- Work While the Chocolate is Wet: Sprinkles adhere best to chocolate when it’s still soft. After dipping a marshmallow in the melted chocolate, move fast—pause too long, and the coating may set before you can decorate.
- Set Up a Sprinkle Station: Place your sprinkles and edible decorations in shallow bowls or plates. This makes it easier to grab what you need and reduces mess.
- Use a Spoon for Precision: Instead of dipping the whole pop into sprinkles, use a spoon to sprinkle them over the top. This method gives you better control, ensuring even coverage without overwhelming the design.
- Mix Textures: Combine different types of sprinkles, like sanding sugar with larger heart-shaped pieces. The contrast adds visual interest and texture to your marshmallow pops.
- Catch Excess for Less Waste: Decorate over a larger bowl or tray to catch any falling sprinkles. Reuse the extras for the next pop!
Adding edible details is like accessorizing an outfit—it completes the look and adds personality. Whether you stick with classic hearts or mix in edible glitter, sprinkles ensure your marshmallow pops feel as festive as the occasion.
Customizing with Colors and Themes

While red, pink, and white are classic for Valentine’s Day, don’t be afraid to branch out with colors and themes. These marshmallow pops can adapt to other holidays, special occasions, or personal preferences with a few simple tweaks:
- Experiment with Candy Melt Colors: Think pastel blues and yellows for spring, orange and black for Halloween, or blues and silvers for winter holidays. Candy melts come in nearly every color imaginable, giving you endless options.
- Incorporate Seasonal Sprinkles: For non-Valentine themes, swap heart sprinkles for pumpkins, stars, or even edible gold flakes. The right decorations transform these treats for any festive gathering.
- Consider Patterns: Use drizzles to create custom patterns. Zigzags, dots, or even marbleized effects can elevate the pops from cute to professional-looking.
- Personalization: Create names, initials, or messages using edible ink pens or piped candy melts. This is especially great for party favors or gifts.
- Mix Chocolate Coatings: Split your marshmallows between dark chocolate, milk chocolate, and white chocolate bases, then mix and match decorations for a colorful variety.
Customizing marshmallow pops isn’t just about aesthetics—it’s about making them meaningful. For Valentine’s Day or any occasion, a little personalization goes a long way in turning these treats into memorable little gifts.
Cooling and Storing the Marshmallow Pops

Once you’ve dipped, drizzled, and decorated your Valentine’s Day Marshmallow Pops, the next steps are just as important. Proper cooling ensures a flawless finish, and smart storage keeps them fresh and ready to enjoy whenever the celebration begins.
Allowing Pops to Harden
Setting the pops the right way is the key to achieving that perfect, glossy chocolate coating. Here’s how to do it:
- Room Temperature Method: Lay the pops flat on parchment paper or stick them upright in a foam block. Leave them at room temperature for about 20–30 minutes. This allows the chocolate or candy melts to harden naturally, ensuring a smooth and crack-free finish.
- Refrigeration Option: If you’re short on time or dealing with a warmer room, place the pops in the refrigerator. Let them chill for about 10–15 minutes. The cooler temperature helps speed up the hardening process, but make sure they’re in a single layer to avoid smudging.
- What to Avoid: Never place them in the freezer to cool quickly. Sudden temperature changes can cause the chocolate to crack or develop condensation, affecting both the look and texture.
Patience pays off here. Whether you allow them to harden at room temp or refrigerate briefly, the end result is a sturdy, picture-perfect pop.
Storage Tips for Freshness
Once your Valentine’s Day Marshmallow Pops have set completely, storing them the right way will keep them fresh and delicious for days:
- Airtight Containers: Arrange the pops in a single layer inside an airtight container lined with parchment paper. If you need to stack them, place another sheet of parchment between layers to prevent sticking.
- Cool, Dry Location: Room temperature works well for storing marshmallow pops for up to 5–7 days. Keep them in a cool, dry place away from direct sunlight or heat sources that could melt the chocolate coating.
- Refrigeration Recommendations: If your home is particularly warm, refrigeration is an option. Store them in an airtight container to protect them from moisture, and let them sit at room temperature for a few minutes before serving to soften the marshmallows.
- Freezing for Long-Term Storage: For a longer shelf life, you can freeze the pops. Wrap each one individually in plastic wrap or place them in a freezer-safe bag, removing as much air as possible. They’ll stay fresh for 1–2 months. Before serving, allow them to thaw at room temperature for about 30 minutes.
Proper storage isn’t just about preserving taste—it makes it easier to prep ahead for events or gift-giving. Whether you’re enjoying them yourself or sharing with friends, these tips will keep your festive marshmallow pops tasting just as good as when you made them.
Serving and Gifting Ideas for Valentine’s Day Marshmallow Pops

When it comes to Valentine’s Day Marshmallow Pops, the fun doesn’t end with dipping and decorating. The way you serve or present these treats can make them even more special. Whether you’re hosting a party or sharing them as gifts, creative presentation adds that extra charm.
Creative Presentation Options
Presentation can make even the simplest desserts feel thoughtful and festive. Instead of casually arranging your marshmallow pops, elevate their visual appeal with these ideas:
- Decorative Jars and Mugs: Group marshmallow pops in themed mugs or mason jars. You can fill the bottoms with colorful shredded paper, candy hearts, or tissue paper for added flair. These displays are not only practical but also act as charming centerpieces.
- Themed Stands: Use cupcake stands or tiered trays to showcase the pops upright. It’s a simple way to display multiple pops without them crowding each other.
- Floral Foam Base: Insert the sticks into a block of floral foam covered with decorative wrapping paper. This allows the pops to stand tall and lets guests easily grab one.
- Basket Display: Arrange pops in a wicker basket filled with red or pink tissue paper. This rustic yet elegant presentation makes them feel like a thoughtful, handmade gift.
- Individual Treat Holders: Place each marshmallow pop in a clear, decorated treat cup. It keeps them clean and organized, perfect for serving at a party.
Whether you go for cute and casual or elegant and refined, these ideas add personality to your treats. Plus, they make them Instagram-ready—because let’s be honest, everyone loves a shareable dessert moment!
Tips for Gifting Marshmallow Pops

Giving marshmallow pops as Valentine’s gifts? Thoughtful packaging can take them from homemade to heartwarming. Here are a few tried-and-true ideas to make your gifts unforgettable:
- Cellophane Bags: Wrap each pop in a small clear cellophane bag. Not only does this keep them fresh, but it also gives the recipient a full view of your creative handiwork.
- Ribbons and Labels: Tie the bags with red, pink, or white ribbons for a festive vibe. Add personalized gift tags or labels with messages like “Made with Love” or “You Make Life Sweet.” It’s a simple touch that feels extra special.
- Decorative Paper Sleeves: Slide the sticks into short, decorative sleeves made from patterned paper. A hole-punch and a bit of string can secure the sleeve snugly.
- Gift Boxes or Tins: Arrange several marshmallow pops in a small gift box, tin, or basket. Line the container with tissue paper or decorative filler for a polished look.
- Valentine’s Cards Attachments: Punch a small hole in a Valentine’s card and slide it through the stick before wrapping. It combines the charm of a card and a treat in one thoughtful package.
Gifting doesn’t have to break the bank. These small details are like the icing on a cake—they show you went the extra mile. Whether gifting to kids, friends, or coworkers, these Valentine’s Day Marshmallow Pops will be a hit.
Final Thoughts
Valentine’s Marshmallow Pop is the perfect blend of fun and creativity, making them a must-try treat. They’re simple to customize, a joy to make, and an instant hit for gifting or sharing.
Grab your marshmallows, chocolate, and sprinkles, and let your imagination take over. These pops are a sweet way to celebrate love and make memories.
Now, it’s your turn to whip up these delightful Valentine’s Day Marshmallow Pops. Share your creations and spread the sweetness!
I hope you like this recipe, here are more for you:
- Fluffy Strawberry Pancakes: The Perfect Valentine’s Day Breakfast
- The Ultimate Valentine’s Day Breakfast Board: A Fun and Delicious Way to Celebrate
- Breakfast of Love: Fun and Easy Recipes for Valentine’s Day Breakfast
- Make Cute Valentine’s Day Oreos Dipped in Chocolate
Sarah Lee is an ER doctor and the creator of Laid Back Bites, where she shares simple, stress-free recipes for busy lives. Living on a farmette in Oklahoma with her husband, 4 horses and 4 cats, she combines her experience in a high-pressure career with a passion for easy, comforting meals. Her unique perspective brings a sense of balance and practicality to the kitchen, helping readers create delicious dishes without the stress.
 How to Make a Valentine's Day Breakfast Charcuterie Board That Will Wow Your Loved Ones
 How To Make Valentine Oreos: Easy Chocolate-Dipped Treats for Valentine's Day