When it comes to festive Christmas breakfasts, I love pulling out all the stops, and these Red Velvet Cinnamon Rolls never disappoint! They’re everything you’d want in a holiday treat—rich, chocolatey red velvet flavor, gooey cinnamon filling, and a tangy cream cheese frosting that makes them irresistible. I first made these for Christmas morning a couple of years ago, and now they’ve become a tradition in my house. Whether you’re baking them for a holiday brunch, Valentine’s Day, or just because you’re craving something indulgent, these cinnamon rolls are guaranteed to impress.
Why You’ll Love This Recipe
These Red Velvet Cinnamon Rolls are a showstopper in both flavor and appearance! Here’s why they’re guaranteed to become your new favorite treat:
- A Perfect Fusion: The best of both worlds, these rolls combine the soft, pillowy texture of cinnamon rolls with the rich, chocolatey taste of red velvet cake.
- Special Occasion Worthy: Whether it’s Valentine’s Day breakfast, Christmas morning breakfast, or a fun weekend brunch, these rolls add a festive touch to any gathering.
- Made from Scratch: Skip the grocery store and enjoy the satisfaction of creating your own homemade cinnamon rolls from start to finish.
- Decadent Cream Cheese Icing: The tangy frosting perfectly complements the sweet cinnamon filling and rich dough for an irresistible flavor combo.
- Eye-Catching Presentation: With their vibrant red color and swirls of cinnamon, these rolls are as beautiful as they are delicious.
Whether you’re baking for a loved one or treating yourself, this recipe is sure to impress.

The Sweet History Behind Red Velvet Cinnamon Rolls
The marriage of red velvet cake and cinnamon rolls brings together two of America’s most treasured treats. This fusion creates a breakfast pastry that’s both visually striking and deeply satisfying.
The combination emerged as bakers sought new ways to reinvent classic cinnamon rolls, leading to these ruby-hued delights that now grace tables from casual brunches to holiday mornings.
Red Velvet Cake: A Culinary Evolution
Red velvet cake first appeared in the 1920s at the Waldorf-Astoria Hotel in New York City. The cake’s signature color originally came from a chemical reaction between cocoa powder, vinegar, and buttermilk.
During World War II, bakers began using beet juice to enhance the red color, as sugar rations limited access to traditional ingredients. By the 1950s, food coloring became the go-to method for achieving that iconic crimson shade.
The cake’s popularity soared, especially in the southern United States, where it became a staple at family gatherings and celebrations.
Cinnamon Rolls: A Global Comfort Dessert
Cinnamon rolls trace their roots back to Sweden, where they’re known as “kanelbullar” and celebrated with their own holiday on October 4th. These sweet buns traveled across Europe, picking up regional variations along the way.
When they reached America, bakers added cream cheese frosting, creating what we now know as the classic cinnamon roll. The basic recipe starts with an enriched dough, spread with butter, brown sugar, and cinnamon, then rolled and sliced to reveal that characteristic spiral.
Different cultures have their own versions – German “schnecken,” British “Chelsea buns,” and Finnish “korvapuusti” all share this beloved swirled design.

Ingredients You’ll Need
Here’s everything you’ll need to create these delicious Red Velvet Cinnamon Rolls. Most of the ingredients are pantry staples, with a few special touches to make these rolls stand out!

For the Dough
- Active Dry Yeast: Helps the dough rise and gives it that soft, fluffy texture.
- Warm Milk: The perfect temperature (about 110 degrees) activates the yeast for a successful dough rise.
- Red Velvet Emulsion: Adds the signature flavor and vibrant red color to the dough. – but it here
- Unsalted Butter: Adds richness to the dough and keeps it tender.
- Brown Sugar: Sweetens the dough while adding depth of flavor.
- Cups of Flour: The foundation of the dough—use just enough to get the right consistency.
For the Cinnamon Filling
- Softened Butter: Makes it easy to spread and helps the cinnamon and sugar stick.
- Brown Sugar: The star of the filling, creating that classic caramelized sweetness.
- Ground Cinnamon: Adds a warm, cozy spice that pairs perfectly with the red velvet dough.
For the Cream Cheese Icing
- Cream Cheese: The key to that tangy, smooth frosting.
- Powdered Sugar: Sweetens the icing while keeping it light and fluffy.
- Unsalted Butter: Adds richness and a silky texture to the frosting.
- Vanilla Extract: Rounds out the flavor with a hint of sweetness.
With these simple ingredients, you’re ready to create a batch of homemade Red Velvet Cinnamon Rolls that will impress everyone who tries them!

How to Make Red Velvet Cinnamon Rolls
Here’s an easy step-by-step guide to creating soft, decadent red velvet cinnamon rolls with a rich cream cheese frosting. This recipe takes a little time for rising, but the process is simple, and the results are well worth it!
Step 1: Prepare the Dough
- Heat 1 cup of milk in the microwave for about 1 minute until warm (around 110°F). Stir in 2 ¼ teaspoons of active dry yeast and let it sit for a few minutes to activate.

2. In the bowl of a stand mixer fitted with the paddle attachment, cream together:
- ½ cup softened butter
- ½ cup sugar
- 1 teaspoon salt

3. Add 2 eggs and 2 tablespoons of red velvet emulsion to the creamed mixture. Mix thoroughly, scraping down the sides as needed.

4. Gradually add 4 cups of flour in two portions:
- Mix in the first half of the flour until combined.
- Add the warm milk and yeast mixture, mixing well.
- Add the remaining flour and mix until a dough forms.

5. Transfer the dough to a floured surface and knead for about 5 minutes until smooth and elastic.

6. Place the dough in a greased bowl, cover with plastic wrap, and let it rise at room temperature for 1-2 hours or until doubled in size.
Step 2: Roll and Fill
- Once the dough has risen, roll it out on a floured surface into a rectangle about ¼-½ inch thick.

2. Use a pastry brush to spread ⅓ cup of melted butter evenly over the surface.
3. In a small bowl, mix together:
- ¾ cup brown sugar
- 2 tablespoons cinnamon
Sprinkle the mixture evenly over the buttered dough and press it gently into the surface.

Step 3: Roll and Cut
- Starting from the long edge, tightly roll the dough into a log. Pinch the seam to seal.

2. Use a serrated knife or unflavored dental floss to cut the log into 2-inch pieces.
3. Place the rolls, cut side up, in a greased or lined 11×8-inch baking dish, leaving a little space between each roll.

Step 4: Second Rise
- Cover the baking dish with a towel or loosely with plastic wrap. Let the rolls rise again at room temperature for about 1 hour, or until doubled in size.

Step 5: Bake
- Preheat your oven to 350°F.
- Bake the rolls for 20-25 minutes, or until they are slightly golden on the bottom. Let them cool slightly while you prepare the frosting.

Step 6: Make the Cream Cheese Frosting
- In the bowl of a stand mixer, cream together:
- ½ cup softened butter
- 4 ounces softened cream cheese
- ½ teaspoon salt
- 1 teaspoon vanilla extract
Mix until smooth.

- Gradually add 1 ½ cups powdered sugar and mix until combined. Increase the speed to medium and whip the frosting until it’s light and fluffy.

Step 7: Frost and Serve
- Generously spread the cream cheese frosting over the warm cinnamon rolls.
- Serve and enjoy these soft, gooey, red velvet cinnamon rolls—perfect for breakfast, brunch, or dessert!

Pro Tip: These cinnamon rolls are best enjoyed fresh but can be stored in an airtight container for up to 3 days. Reheat in the microwave for a few seconds to make them soft and gooey again.
Tips for Perfect Red Velvet Cinnamon Rolls
To make your Red Velvet Cinnamon Rolls the best they can be, here are some handy tips and tricks:
Get the Dough Just Right
- Warm Milk Matters: Ensure your milk is around 110°F—warm enough to activate the yeast but not so hot that it kills it.
- Knead Thoroughly: Knead the dough on a lightly floured surface until it’s smooth, elastic, and slightly sticky. This helps create that perfect soft texture.
- Rise in a Warm Place: Dough rises best in a warm, draft-free spot. If your kitchen is cold, turn on your oven light or set the bowl near a warm appliance.
Assembling Like a Pro
- Roll Evenly: Use a rolling pin to create an even rectangle for consistent roll sizes.
- Spread Filling with Care: Use a pastry brush to evenly distribute the melted butter and make sure the cinnamon-sugar mixture sticks.
- Clean Cuts: Use unflavored dental floss or a serrated knife to cut the rolls without squishing them.
Baking Tips
- Don’t Overbake: Keep an eye on the rolls in the oven and take them out when the bottoms are golden brown but the tops are still soft. Overbaking can make them dry.
- Frost While Warm: Spread the cream cheese frosting while the rolls are still warm for that perfect melt-in-your-mouth texture.
Storing and Reheating
- Store in an Airtight Container: To keep them fresh, store your rolls in the fridge in an airtight container for up to 3 days.
- Reheat for Freshness: Warm rolls in the microwave for 15-20 seconds to bring back their soft, gooey goodness.
By following these tips, your Red Velvet Cinnamon Rolls will turn out bakery-quality every time. Perfect for Valentine’s Day, Christmas morning, or any special occasion!

Variations to Try with Red Velvet Cinnamon Rolls
These Red Velvet Cinnamon Rolls are amazing as-is, but you can easily switch things up to suit your taste or make them even more festive. Here are some fun variations to try:
Chocolate Lover’s Twist
- Add a handful of mini chocolate chips to the cinnamon filling for an extra indulgent treat.
- Drizzle the finished rolls with melted chocolate instead of cream cheese frosting.
Nutty Delight
- Sprinkle chopped pecans or walnuts over the cinnamon-sugar filling before rolling up the dough.
- Add a handful of toasted nuts on top of the frosting for added crunch.
Holiday Flair
- For a Christmas-themed roll, swap the red velvet emulsion for green food coloring to make Green Velvet Cinnamon Rolls.
- Add festive sprinkles to the frosting for a fun, holiday-ready look.
Caramel Drizzle
- Drizzle the warm rolls with caramel sauce before adding the frosting for a decadent caramel-cinnamon flavor combo.
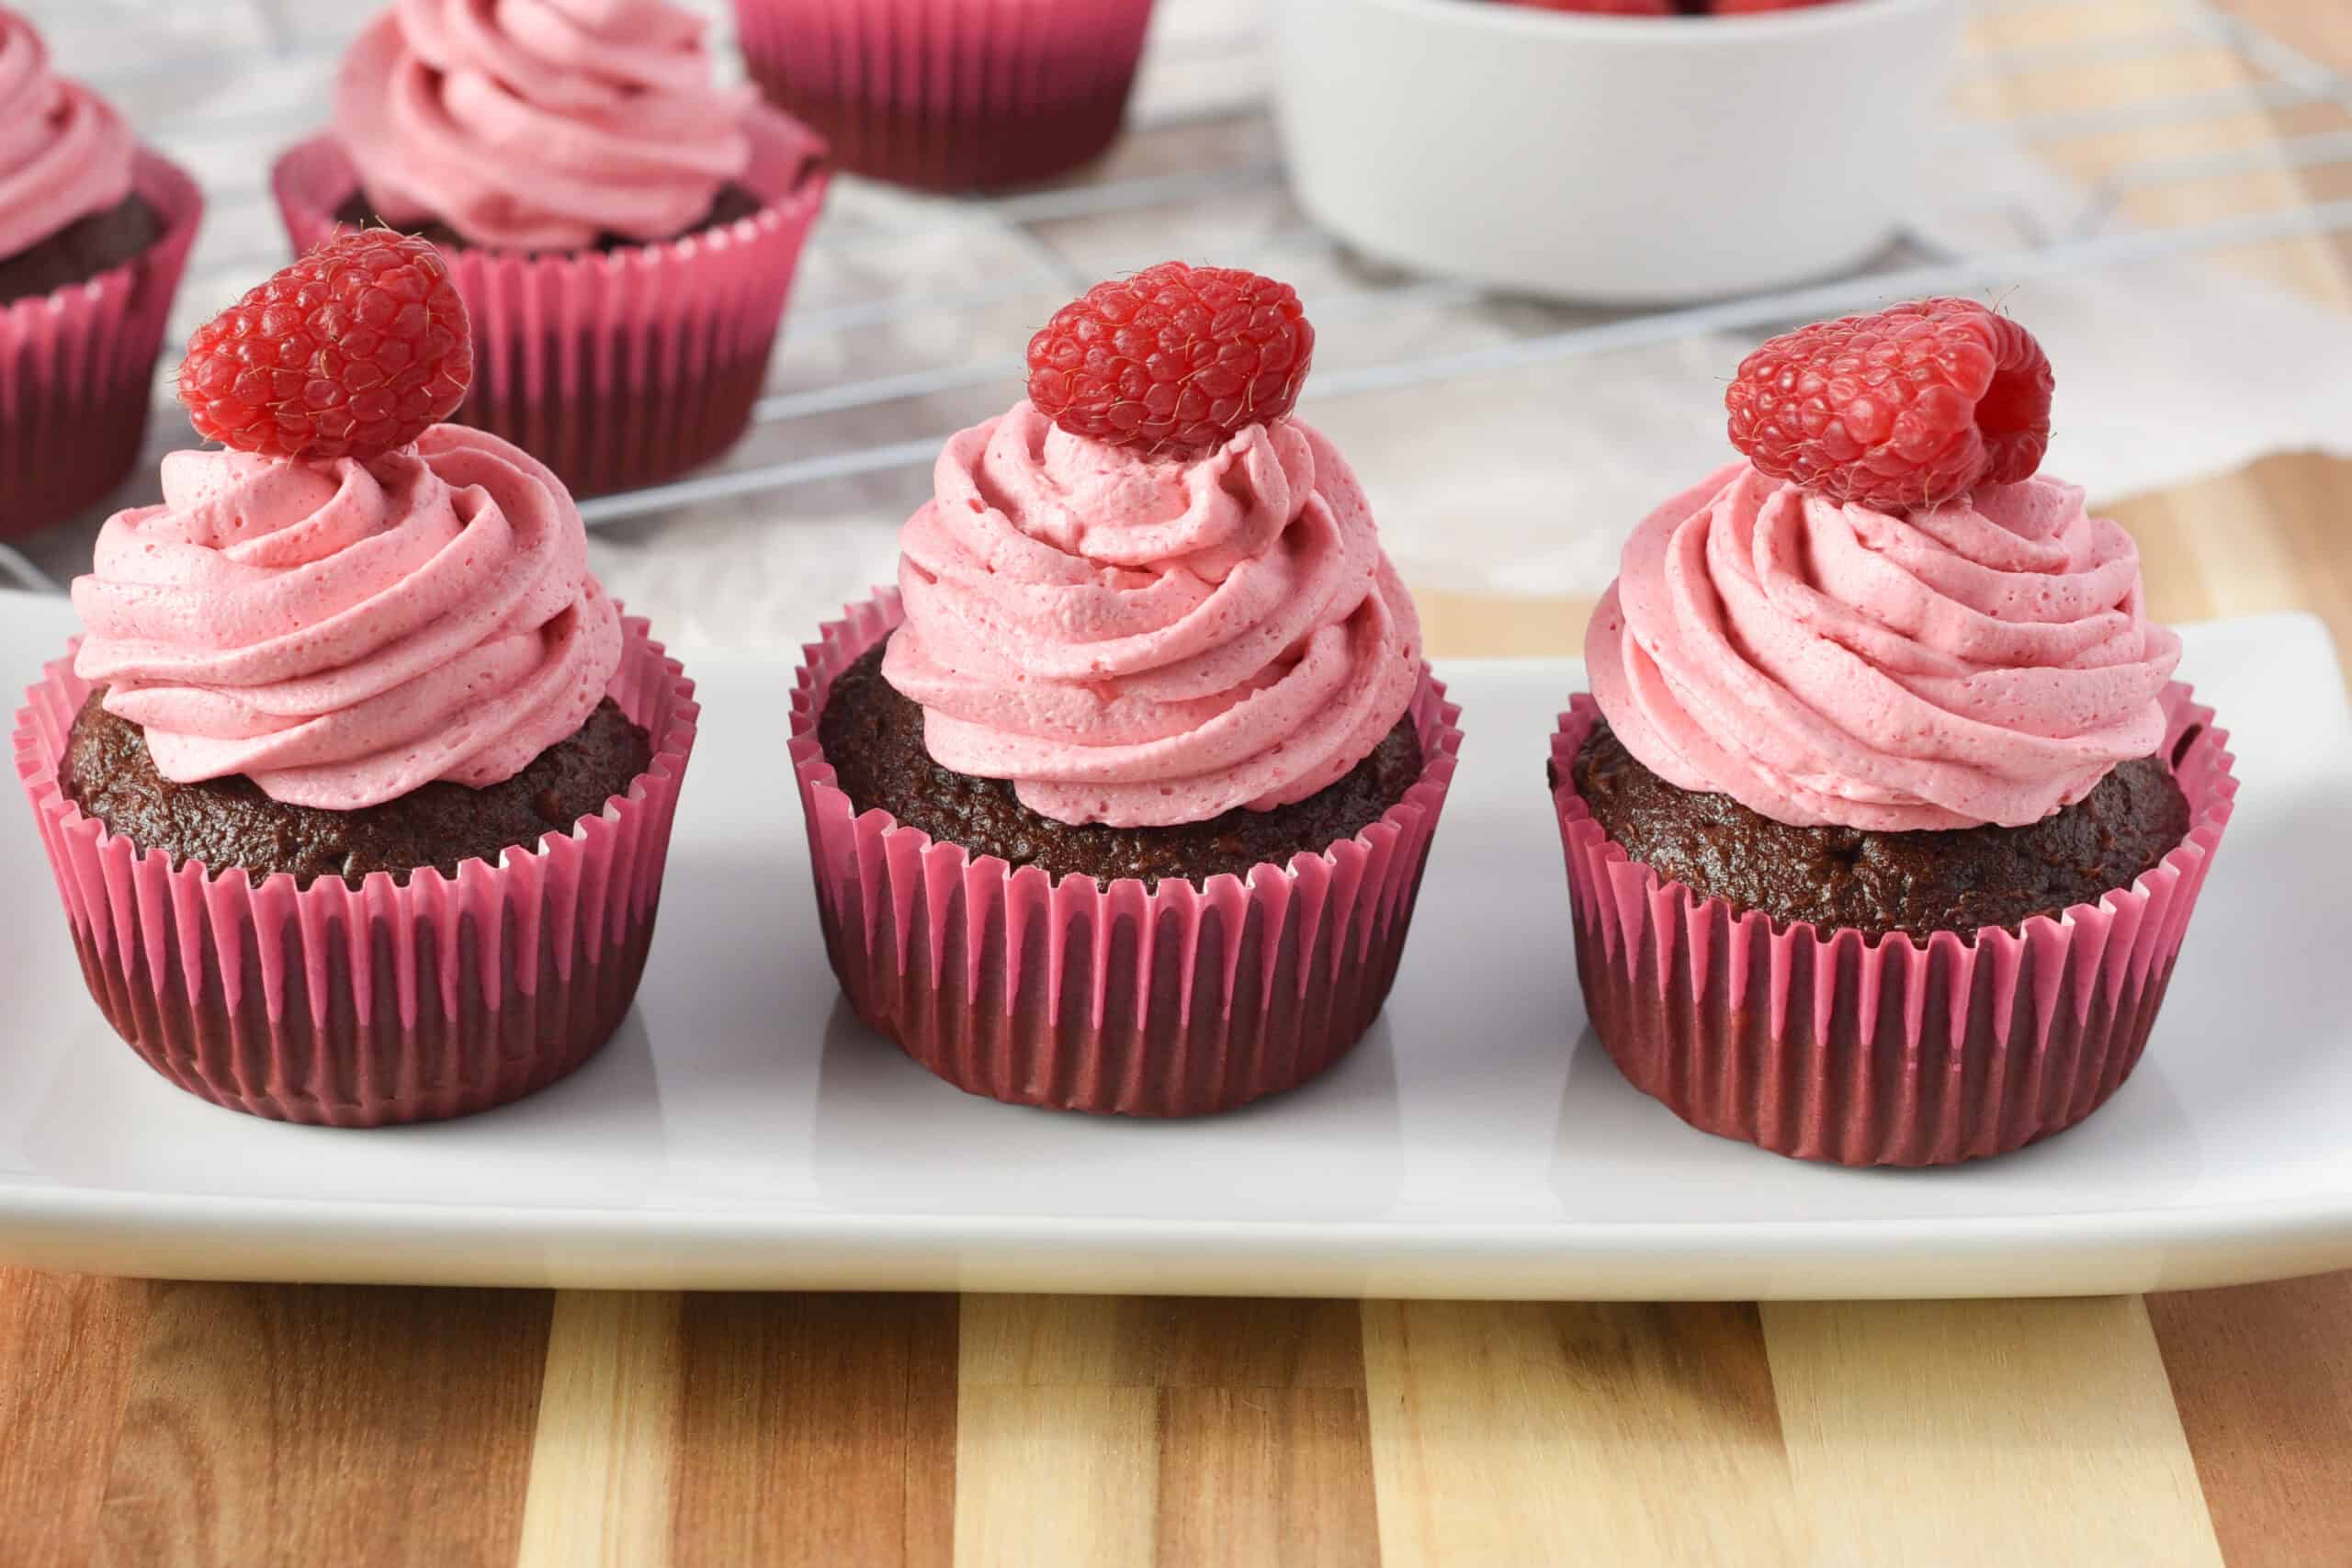
Berry-Infused
- Spread a thin layer of raspberry or strawberry jam over the dough before adding the cinnamon filling for a fruity twist.
- Top the frosting with fresh berries for a pop of color and freshness.
Make It Overnight
- Prepare the rolls up to the second rise, then cover them tightly and refrigerate overnight. The next morning, let them come to room temperature and rise slightly before baking for a quick and easy breakfast treat.
Experimenting with these variations will keep your cinnamon rolls exciting and perfect for every occasion. From chocolatey indulgence to fruity freshness, there’s a version for everyone to enjoy!

FAQs About Red Velvet Cinnamon Rolls
If you have questions about making these Red Velvet Cinnamon Rolls, here are some answers to common concerns to ensure your baking experience is smooth and stress-free.
1. Can I Use Instant Yeast Instead of Active Dry Yeast?
Yes! If you’re using instant yeast, there’s no need to activate it in warm milk. You can mix it directly into the dry ingredients, but make sure your milk is still warm to help the dough rise.
2. What is Red Velvet Emulsion, and Can I Substitute It?
Red velvet emulsion is a concentrated flavoring that gives the rolls their signature taste and vibrant red color. If you don’t have it, you can substitute with red food coloring, cocoa powder, and a touch of vanilla extract to achieve a similar effect.
3. How Do I Know If My Dough Has Risen Enough?
The dough is ready when it has doubled in size. To test, gently press two fingers into the dough; if the indentation stays, it’s ready to move on to the next step.
4. Can I Freeze Red Velvet Cinnamon Rolls?
Absolutely! Here are two ways to freeze them:
- Before Baking: After cutting the rolls, place them on a baking tray and freeze. Once frozen solid, transfer them to an airtight container. Thaw in the fridge overnight, let them rise, and bake as usual.
- After Baking: Store baked and unfrosted rolls in an airtight container in the freezer. When ready to eat, thaw, warm them up, and spread on fresh frosting.
5. How Can I Prevent My Rolls from Drying Out?
- Make sure your dough isn’t too dry. Add small amounts of warm milk if needed when kneading.
- Cover your rolls tightly with plastic wrap during the rising stages to prevent air exposure.
- Don’t overbake—keep an eye on the oven, and pull the rolls out as soon as the bottoms are golden brown.
6. Can I Make These Ahead of Time?
Yes! Prepare the rolls the night before up to the second rise. Cover them tightly and refrigerate. The next morning, let them sit at room temperature while the oven preheats, then bake as directed.
Still have questions? Leave a comment below, and I’ll help you perfect your Red Velvet Cinnamon Rolls! Happy baking!

Troubleshooting Tips for Perfect Red Velvet Cinnamon Rolls
Making red velvet cinnamon rolls takes practice, but knowing how to spot and fix common issues will help you master them faster. Let’s look at the typical problems bakers face and how to solve them.
Avoiding Common Baking Mistakes
Dough Not Rising Properly
Your yeast needs the right conditions to work. If your dough stays flat, check these points:
- Milk temperature: Too hot kills yeast, too cold won’t activate it. Aim for 105-115°F
- Yeast freshness: Test it in warm water with sugar – it should foam within 5 minutes
- Room temperature: Place dough in a warm spot, around 75-80°F
- Rising time: Give it enough time – usually 1-2 hours until doubled
Filling Leaks Out
Keep your filling inside the rolls with these fixes:
- Cool the melted butter before spreading
- Press the filling gently into the dough
- Leave a ½-inch border around edges
- Roll tightly, but don’t squish
- Pinch the seam closed firmly
Color Issues
Get that perfect red velvet shade:
- Use natural cocoa powder, not Dutch-processed
- Add gel food coloring gradually while mixing
- Check the dough color in natural light
- Mix thoroughly for even color distribution
Texture Problems
For soft, fluffy rolls:
- Don’t add too much flour when rolling
- Knead until the dough passes the window pane test
- Let the dough rise completely before shaping
- Space rolls properly in the pan for even baking
Frosting Troubles
Achieve smooth, creamy frosting by:
- Using room temperature cream cheese and butter
- Sifting powdered sugar to prevent lumps
- Beating until just combined – don’t overwork
- Waiting 5 minutes after baking before frosting
These fixes help create perfect red velvet cinnamon rolls every time. Remember that each oven bakes differently, so watch your rolls closely the first time you make them.

Serving and Storage Tips for Red Velvet Cinnamon Rolls
These red velvet cinnamon rolls taste best when served fresh and warm, but proper storage can help maintain their soft texture and flavor for several days. Let’s explore the best ways to serve and keep these sweet treats at their finest.
Optimal Serving Suggestions
Red velvet cinnamon rolls shine brightest when served warm, around 150°F. At this temperature, the cream cheese frosting gets slightly melty while the rolls stay perfectly soft. If you’ve just baked them, wait 10-15 minutes before serving – this prevents the frosting from completely melting.
Try these serving ideas for the best experience:
- Pair with hot coffee or cold milk
- Add fresh berries on the side for a pop of color
- Sprinkle extra cinnamon on top just before serving
- Place on warmed plates to keep them at the ideal temperature longer
- Add a small scoop of vanilla ice cream for dessert-style serving
Storage and Reheating Methods
Store your red velvet cinnamon rolls properly to keep them fresh:
Room Temperature Storage (2-3 days):
- Place in an airtight container
- Layer parchment paper between rolls if stacking
- Keep away from direct sunlight
- Wait until completely cool before storing
Refrigerator Storage (up to 1 week):
- Use a container with a tight-fitting lid
- Remove from fridge 30 minutes before serving
- Store unfrosted rolls separately from frosting
To reheat your rolls:
- Microwave individual rolls for 15-20 seconds
- For multiple rolls, cover with foil and warm in a 350°F oven for 7-10 minutes
- Add fresh frosting if needed after reheating
For longer storage, freeze unfrosted rolls for up to 2 months. Wrap each roll individually in plastic wrap, then place in a freezer bag. Thaw overnight in the fridge and reheat before adding fresh frosting.

Red Velvet Cinnamon Rolls
Ingredients
For the rolls –
- 2 ¼ t active dry yeast
- 1 c warm milk about 110 degrees
- ½ c sugar
- ⅓ c unsalted butter softened
- 2 eggs
- 2 T red velvet emulsion
- 1 t salt
- 4 c flour plus more for dusting
For the filling –
- ¾ c brown sugar
- 2 T cinnamon
- ⅓ c unsalted butter melted
For the frosting –
- ½ c unsalted butter softened
- 4 oz cream cheese softened
- ½ t salt
- 1 t vanilla
- 1 ½ c powdered sugar
Instructions
- Heat the milk in a medium bowl for about 1 minute in the microwave. Stir in yeast and allow to set.
- In the bowl of a stand mixer fitted with the paddle attachment, combine the softened butter, sugar, vanilla and salt. Cream until smooth.
- Add in the eggs and red velvet emulsion. Mix thoroughly, scraping the sides often.
- Add in half of the flour and mix well.
- Add in the warm milk and yeast mixture. Mix well.
- Add in the remaining flour and mix until mostly combined. Transfer the dough to a floured work surface and knead for about five minutes or until elastic and smooth.
- Place in a greased bowl and cover with plastic wrap. Allow to sit at room temperature for about 1-2 hours or until doubled in size.
- Spray or line an 11×8 or similar sized baking dish, set aside.
- Roll out the dough on a floured work surface into a rectangular shape about ¼-½ inch thick.
- Use a pastry brush to spread the melted butter over the surface.
- In a small bowl, combine the brown sugar and cinnamon. Sprinkle over the surface of the rolled out dough and gently press into the butter.
- Roll from the long end, keeping the log tight and pinching the seam to seal.
- Use a serrated knife or floss to cut into pieces about 2 inches thick.
- Place the cut rolls into the prepared baking dish with the cut side up.
- Cover the baking dish with a towel or loosely with plastic wrap. Allow to rise until doubled, about 1 hour.
- Preheat the oven to 350 degrees.
- Bake in the preheated oven for 2-25 minutes or until slightly browned on the bottom. Allow to cool slightly before coating with frosting.
- Meanwhile, make the frosting. In the bowl of a stand mixer, combine the softened butter, softened cream cheese, salt and vanilla. Cream until smooth.
- Add in the powdered sugar and mix until combined. Bump up the speed to medium and mix until whipped and smooth.
- Spread the frosting over the cinnamon rolls.
Notes
Sarah Lee is an ER doctor and the creator of Laid Back Bites, where she shares simple, stress-free recipes for busy lives. Living on a farmette in Oklahoma with her husband, 4 horses and 4 cats, she combines her experience in a high-pressure career with a passion for easy, comforting meals. Her unique perspective brings a sense of balance and practicality to the kitchen, helping readers create delicious dishes without the stress.
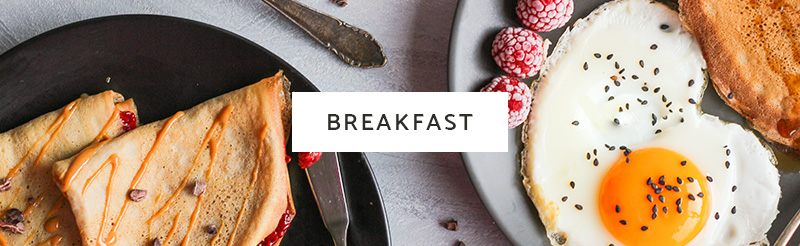
Need More Pancake Tips and Breakfast Inspiration?
If you’re passionate about pancakes or love a hearty breakfast, check out these must-read posts and recipes:
Pancake Cooking Tips:
- Why Your Pancakes Are Flat (And How to Fix Them) – Say goodbye to disappointing pancakes with these quick fixes.
- Ultimate Pancake Cooking Guide – Master the art of pancake perfection with this comprehensive guide.
- How to Make Pancakes with Perfectly Crispy Edges Every Time – Learn the secret technique for golden, crispy edges.
Delicious Breakfast Recipes:
- Red Velvet Cinnamon Rolls – Sweet and tangy rolls with cream cheese icing.
- Strawberry Pancakes – Sweet, fluffy pancakes bursting with fresh strawberry flavor.
- Hawaiian Roll Breakfast Sliders – A savory and sweet breakfast treat that’s perfect for sharing.
- Sausage Gravy Biscuit Casserole – The ultimate comfort food for a crowd-pleasing morning meal.
- Lemon Ricotta Pancakes – A tangy, creamy twist on a classic pancake recipe.
- Pumpkin Pancakes – Classic pairing of pumpkin pie spices for breakfast.
- Strawberry Waffles – Fluffy waffles with strawberries and raspberries and cream.
- Crepe Recipe without Milk – Make delicious crepes without any dairy.
Explore these recipes and tips to make every breakfast a meal to remember!
 Strawberry Waffles - Fluffy Homemade Recipe
 How to Make Pumpkin Pancakes with Bisquick